
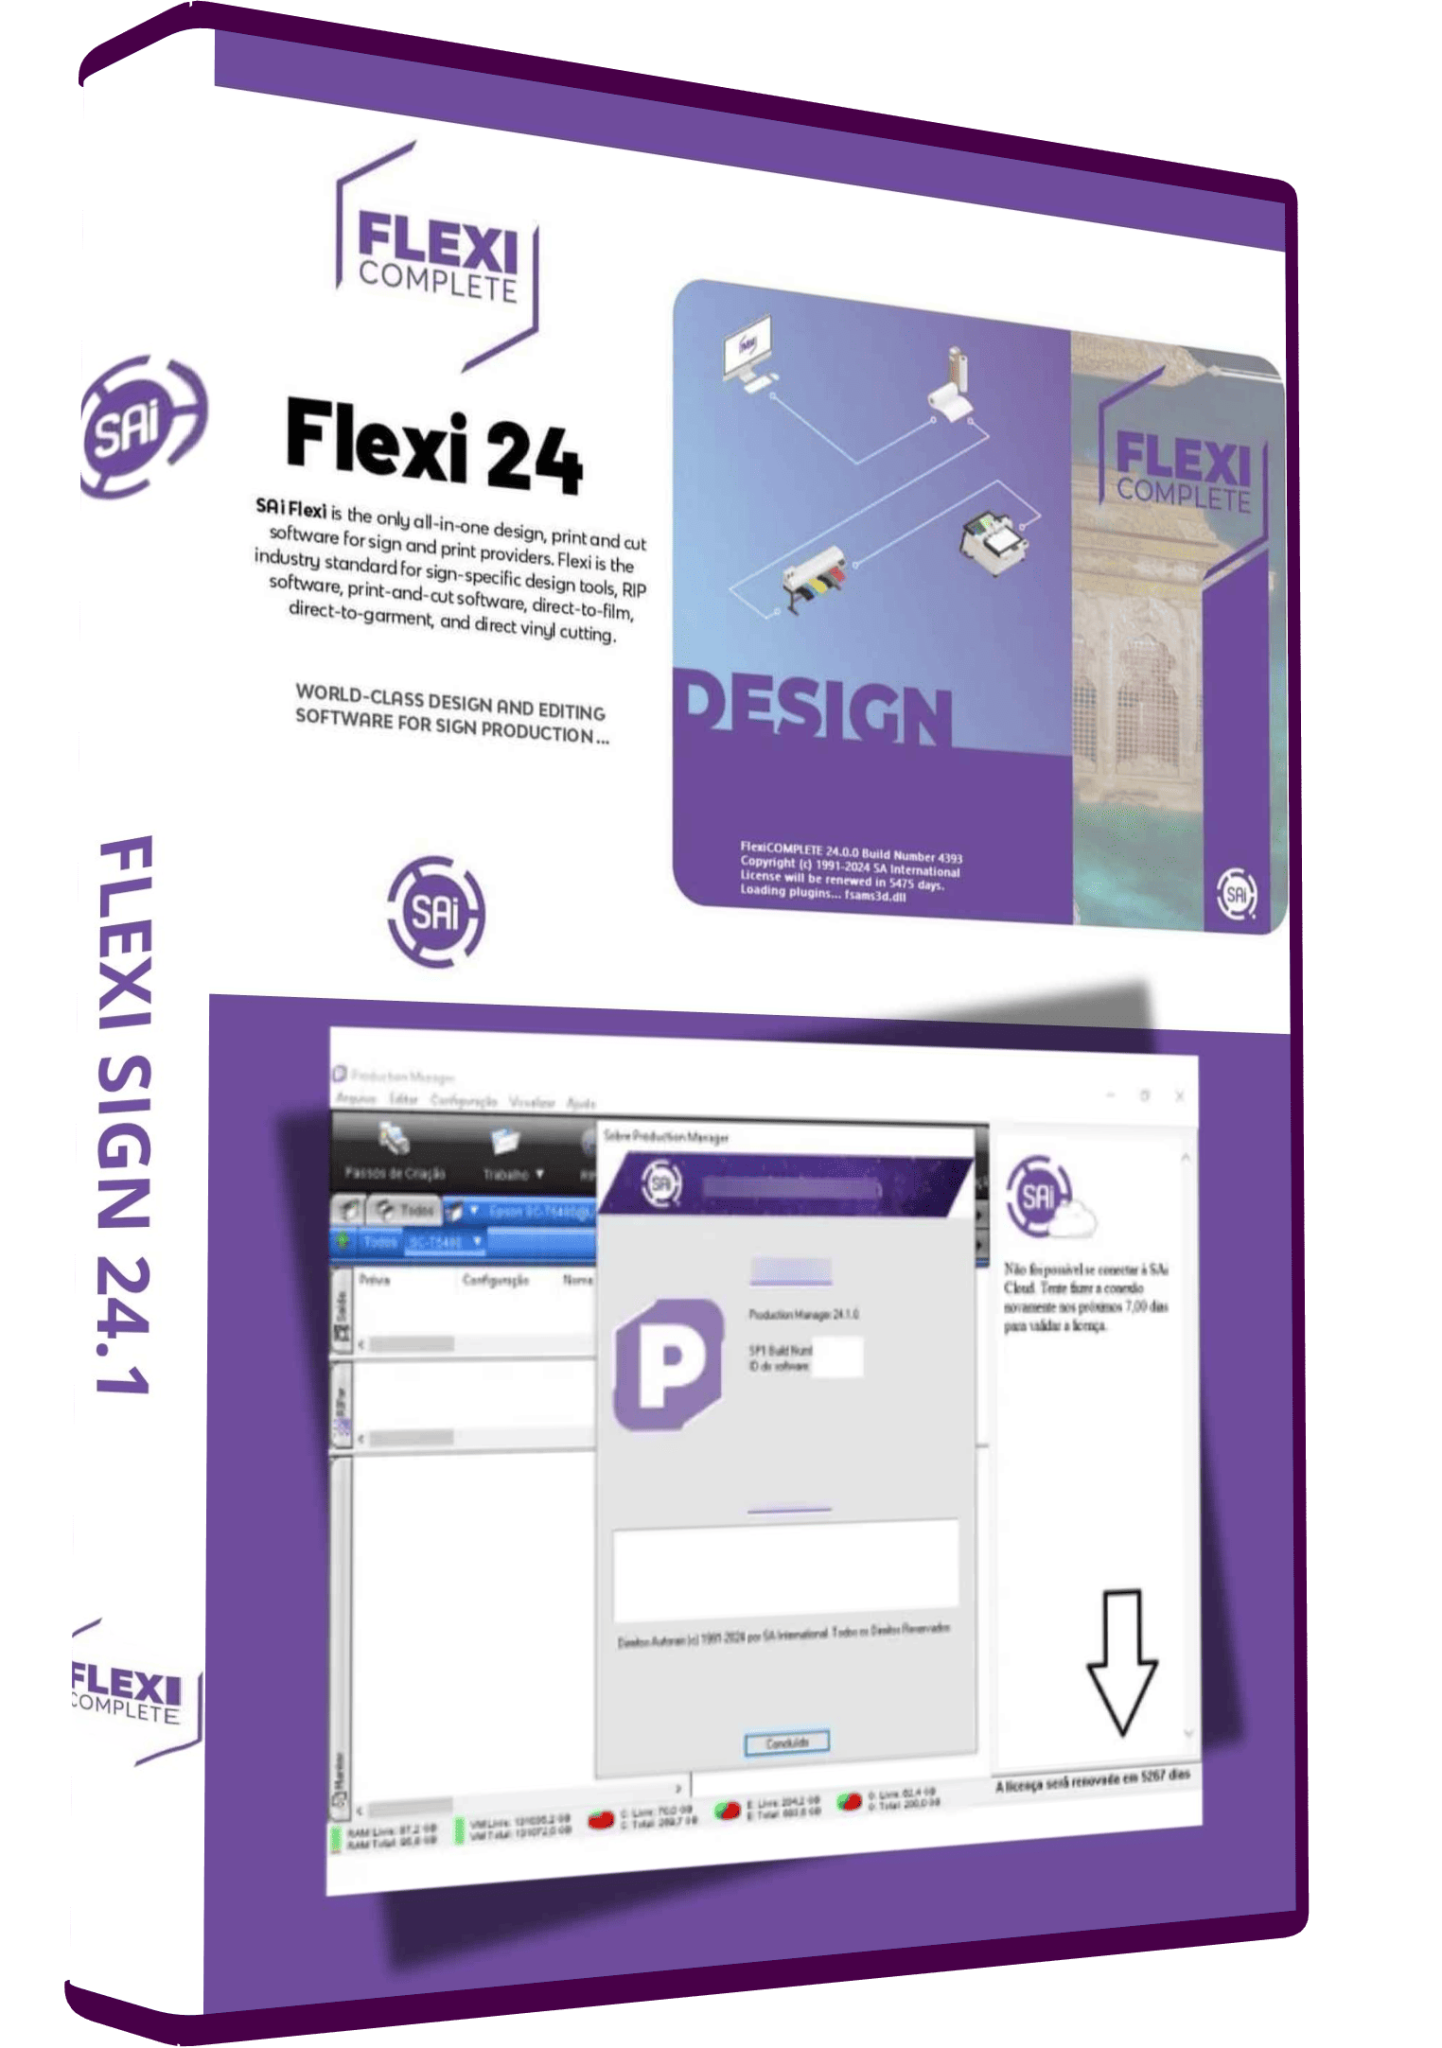
FlexiSign 24 Full Version Lifetime – Vinyl Design & Cutting Software Instant Download
Original price was: 199,00 $.35,00 $Current price is: 35,00 $.
FlexiSign 24 for vinyl-sign design and print-cut workflows. Includes digital delivery, lifetime activation with a one-time payment, and installation support. Check the supplied edition and compatibility with your equipment before ordering.
FlexiSign 24 for vinyl signs and print-cut projects
FlexiSign 24 is offered for creating sign artwork and preparing vinyl-cutting and printing jobs. It can be relevant to a workshop producing lettering, decals and printed graphics where the design must move from an editable layout to a controlled output process.
Needlic’s existing offer includes lifetime activation, a one-time payment without a subscription, digital delivery after payment and installation guidance or remote setup assistance. Confirm the exact supplied edition, build and supported devices before purchase. Flexi 24 listings may represent different packages, including equipment-specific editions; their printer support and licence terms are not interchangeable.
Flexi Design and Production Manager: different jobs
SAi describes two main parts of the Flexi workflow. The design application handles artwork such as text, shapes, colours and paths. Production Manager manages device settings and output to supported printers or cutters. RIP and Print connects the artwork to the production setup, while Cut/Plot is used for cutting workflows.
This distinction helps when diagnosing a job: an artwork problem calls for checking the design, while an output problem may involve the selected device or job settings. Confirm which components are included in your supplied package rather than assuming that every product carrying the Flexi name provides identical production functions.
Prepare a two-colour vinyl sign
- Set the finished dimensions. Use the customer’s approved measurements and check the unit of measurement before arranging the artwork.
- Organise the colours. Separate the shapes intended for each vinyl colour and inspect their alignment.
- Inspect the lettering. Look for overlapping outlines, extremely small gaps and duplicate paths that could cause unnecessary cuts.
- Plan assembly. Allow enough space for weeding and transferring each colour without losing the alignment of the final sign.
- Test the difficult detail. Cut a sample containing the smallest lettering or tightest corner before committing the full design.
Keep the approved editable artwork separate from temporary production copies. When a customer requests a different size later, start with the source project instead of trying to reconstruct the sign from a preview image.
Printed graphics and contour alignment
For a print-cut job, inspect the relationship between the printed artwork and its contour before output. Check the intended page size, bleed, registration marks and device setup together. Resizing one part of the workflow independently can cause a mismatch even when the artwork itself is correct.
Produce one complete sample through the same steps as the final batch. If the job will be laminated, include lamination in the sample. Record the successful settings so a repeat order can be checked against an actual reference rather than a remembered setup.
Three checks when the result is wrong
The output size does not match the design
Compare the dimensions in the original artwork with the output preview. Check units and any scale or fit-to-media option. Measure a small test shape before repeating a large job; changing several settings at once makes the cause harder to identify.
The blade follows an unexpected outline
Inspect the selected paths and look for duplicate shapes, unintended objects or contours assigned to the wrong part of the design. A visible raster image does not automatically contain a usable vector cut path. Keep a copy before simplifying or tracing artwork.
The contour is shifted from the printed image
Check registration-mark recognition, loading orientation and whether the print size changed. Compare several points around the sample: a consistent offset and a progressively increasing mismatch require different investigation. Re-test after each adjustment instead of compensating by moving the artwork at random.
Before installing or replacing an existing setup
Record your operating system, exact printer and cutter models, connection types and current software build. Check the requirements of the supplied installer, then back up artwork and note existing device settings. A driver listed for a product family does not establish support for every model or modified printer configuration.
If an existing Flexi installation already runs your production equipment, test representative jobs before changing the working setup. Include your normal fonts, contour paths and colour workflow in that test. Installation assistance does not replace physical printer calibration, blade adjustment or material testing.
Frequently asked questions
Is this automatically the HP edition?
No. A Flexi 24 version label does not identify an HP-specific package. Confirm the exact edition and supported printer model with Needlic.
Should I choose Flexi 24 or Flexi 25?
Compare the exact builds, supported devices and included modules against your existing workflow. A higher version number alone does not establish that it fixes a particular issue or includes a required driver. Review the Flexi 25 product guide for the checks to make before choosing.
Does lifetime activation include every future upgrade?
The offer states lifetime activation. That should not be read as a promise of every future major version; confirm update and upgrade entitlement separately before ordering.
Is remote installation assistance available?
Yes. Needlic provides installation guidance and remote setup assistance for this offer. Share the computer and equipment details needed to assess your setup before arranging support.
Related tools and documentation
Compare VinylMaster XPT 5 for another sign-production workflow, or browse the vinyl cutting software category. Technical references: SAi’s explanation of Flexi components and official release notes.
Only logged in customers who have purchased this product may leave a review.
Related products
Vinyl Cutting Software
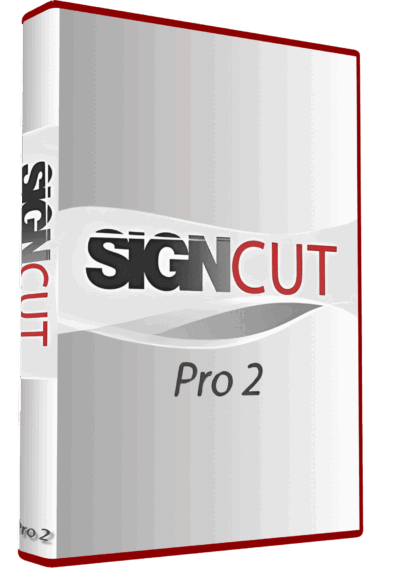
SignCut Pro 2 Vinyl Cutting Software Full Version Lifetime – Professional Plotter Tool
Reviews
There are no reviews yet.