
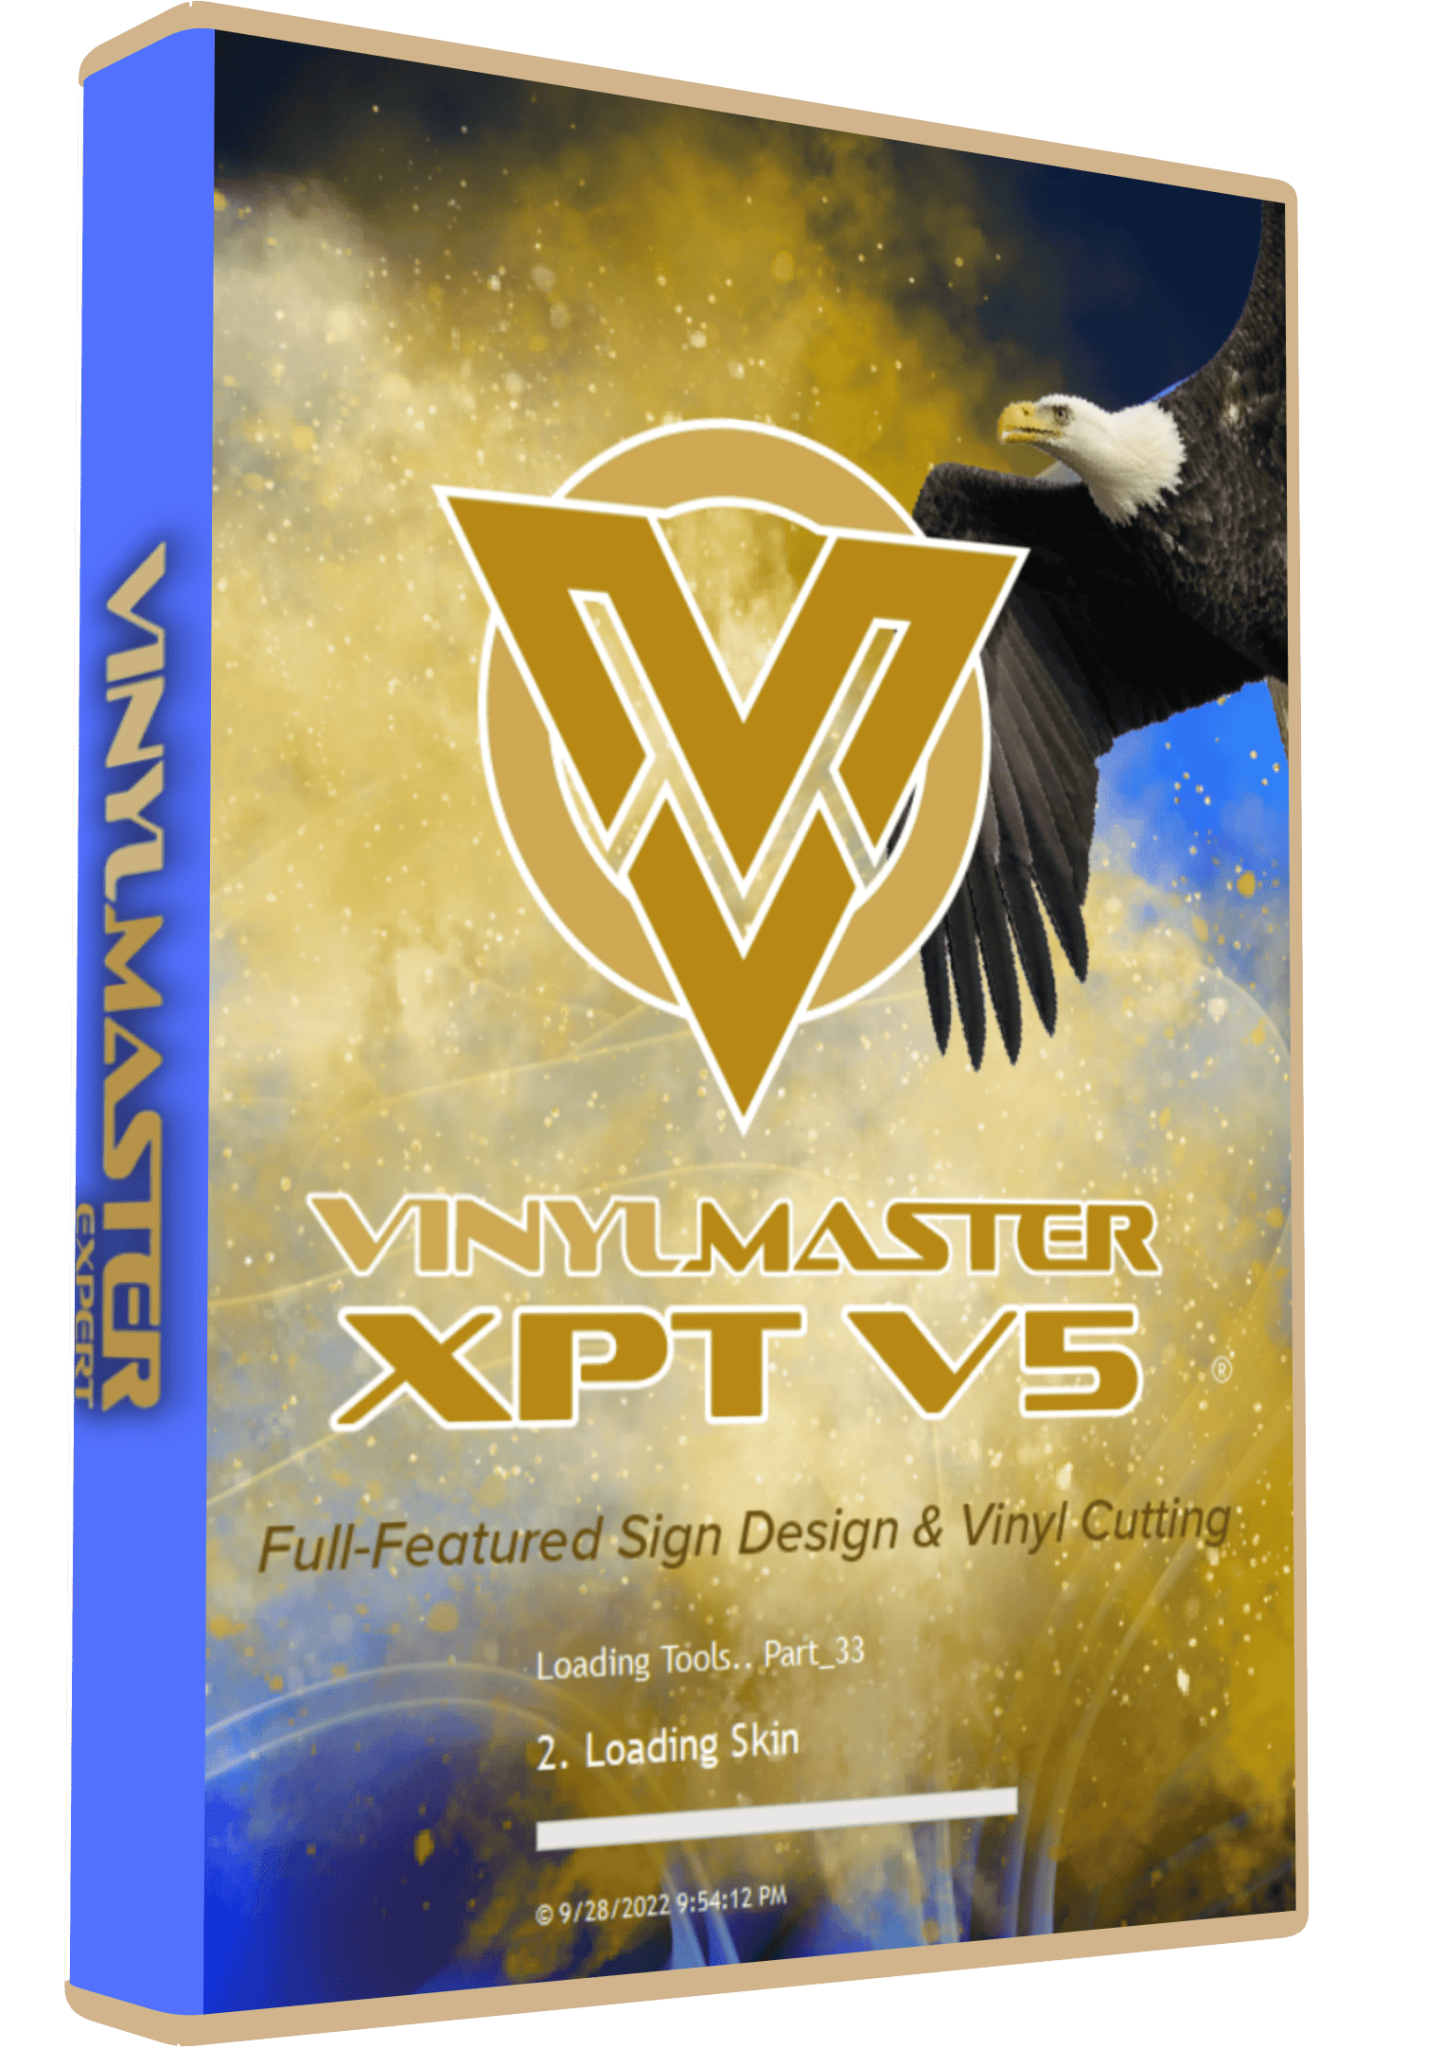
VinylMaster XPT 5 Sign Design, Cutting & RIP Software
Original price was: 120,00 $.70,00 $Current price is: 70,00 $.
VinylMaster XPT 5 combines sign-design tools, vinyl cutting and large-format RIP workflows. This offer includes lifetime activation, one-time payment, digital delivery and installation support. Confirm your cutter and printer models before ordering.
VinylMaster XPT 5 for sign design, cutting and printing
VinylMaster XPT 5 brings artwork creation, vinyl cutting and large-format printing tools into one Windows sign-making workflow. It is intended for projects such as shop lettering, decals, printed stickers, banners and posters. XPT is the Expert level of VinylMaster; V5 identifies the software generation. Choosing the right level matters as much as choosing the version.
Needlic’s offer includes lifetime activation, a one-time payment without a subscription, digital delivery after payment and installation guidance or remote setup support. Check the exact cutter, printer and activation requirements with Needlic before ordering. Software compatibility depends on the device model and connection, not simply the brand printed on the machine.
XPT vs DSR, PRO, LTR and CUT
The publisher groups VinylMaster into five levels. CUT covers basic work, LTR adds tools for simpler design-and-cut projects, and PRO focuses on professional sign cutting. DSR adds advanced artwork and image tools. XPT combines the advanced design environment with a RIP for large-format printing.
The key distinction between DSR and XPT is the RIP Manager: DSR can suit a business that prepares artwork and sends printing to an outside supplier, while XPT is relevant when managing supported printing equipment in-house. If you only produce cut-vinyl lettering, evaluate the cutting tools you actually need before choosing a package for its printing features.
Tools that support a production workflow
- Vector artwork: drawing and tracing tools help turn a design into editable shapes and cut paths.
- Image preparation: image editing and mask tools support artwork that combines photographs with text and graphics.
- Layout: nesting tools help arrange shapes within a material area; inspect the spacing and orientation before output.
- Cut preparation: preview, tiling and weeding tools help organise the job for the cutter and the person finishing it.
- Contour cutting: the wizard supports compatible automatic-mark and laser-pointer workflows.
For small lettering, inspect narrow strokes and enclosed areas at the final size. A design that looks clean on screen may still be difficult to weed. For repeat decals, approve one sample before duplicating the job across a full sheet or roll.
Three typical projects
Cut-vinyl shop lettering
Start with the finished width and available material. Separate colours, check overlaps and inspect the cut paths. Leave enough room to handle and weed the lettering. A small test containing the tightest corners and smallest letters is more useful than a test containing only a large rectangle.
Printed stickers with contour cuts
Prepare the printed artwork and its cut contour together. Select the workflow appropriate to your printer and cutter, retain the required registration marks and verify the output scale. Print one test sheet, check mark detection and inspect the cut alignment before producing a batch. If lamination is part of the job, include it in the test.
Banners and large-format graphics
Check the final dimensions, image quality and required finishing space before printing. A design file alone does not establish the correct media settings. Match the printer, ink and material configuration to the intended production setup, and review a sample for colour and detail.
Compatibility and installation checklist
VinylMaster V5 is a Windows application. Do not assume a native macOS installer or that an older computer meets the requirements of the supplied build. Before purchase, provide your Windows version, exact cutter or printer model, connection type and whether you need ordinary vinyl cutting, automatic registration or printing.
- Verify the device driver and intended connection before planning production.
- For contour cutting, identify whether the machine uses automatic mark detection or a manually positioned laser pointer.
- For RIP printing, confirm support for the exact printer configuration rather than relying on a general list of supported brands.
- Keep an editable working copy of each project and back it up before changing an existing installation.
Moving artwork between applications
When supplying artwork from another design program, confirm that the file format and export revision are supported by the installed build. Open a representative sample and check its dimensions, text, transparency and cut contours. A bitmap logo may need tracing and cleanup; a visible outline is not proof that a usable cutting path exists. Keep the original source file so that corrections do not depend on rebuilding the artwork from a flattened preview.
Frequently asked questions
Does XPT include a RIP?
Yes. The publisher identifies large-format RIP printing as part of XPT. Printer support still needs to be checked for your particular setup.
Will it work with every vinyl cutter?
No universal compatibility should be assumed. Confirm the model, driver, connection and required functions before purchase. Ordinary cutting support and automatic contour-mark support are different checks.
Can I print and cut using two separate devices?
The contour-cutting wizard supports compatible two-device workflows. The printer output, registration method and cutter setup must work together; test the complete process rather than checking only whether the design opens.
Does remote installation replace cutter calibration?
Installation support helps with software setup. You still need to test the physical cutter, blade, material and registration behaviour. Keep a successful test file and its settings as a reference for later jobs.
Related software and technical references
Compare SignMaster V5 for another sign-design workflow, or SignCut Pro 2 when evaluating dedicated cutting-output tools. Browse the vinyl cutting software guide to compare products by workflow.
Technical references: official VinylMaster XPT V5 overview, publisher’s edition comparison and contour-cutting wizard.
Only logged in customers who have purchased this product may leave a review.
Related products
Vinyl Cutting Software
RIP Software
AccuRIP Emerald & Separation Studio NXT 2024 Full Version Lifetime – RIP Software ($77)
Reviews
There are no reviews yet.