
RIP Software
Wasatch SoftRIP Review for Beginners
Mar
Struggling to achieve professional-grade prints without a steep learning curve? Wasatch SoftRIP enables beginners with powerful RIP software tailored for precision output.
In this review, discover its core functionality, key features, easy installation, intuitive interface, basic workflows, and comparisons to competitors-plus pricing, pros/cons, troubleshooting, and our final verdict.
Unlock flawless results today; read on!
What is Wasatch SoftRIP?
Wasatch SoftRIP transforms complex print files into printer-ready raster data with advanced color management and workflow automation. This RIP software converts vector and PDF files to bitmap rasters optimized for inkjet printers. It handles color profiles, ink limits, and cut contours essential for wide-format shops producing banners, vinyl, and textiles.
Unlike basic driver printing, SoftRIP uses ICC profiles and queue management for precise output. Shops rely on it for consistent results across Epson, Canon, Roland, and HP printers. Beginners appreciate its role in simplifying print production from design to cut.
For example, a vinyl banner job starts as a PDF, gets rasterized with spot color matching, and outputs with cut lines for contour cutting. This wide format printing tool boosts efficiency in dye sublimation, DTG, UV, and sublimation workflows. It stands out in SoftRIP reviews for reliability and ease of use.
Wasatch SoftRIP supports Mac and Windows, with features like hot folders and nesting that streamline operations. New users find its beginner tutorial helpful for quick setup. Overall, it differentiates through robust RIP features and print quality control.
Core Purpose and Functionality
SoftRIP’s core converts PostScript, PDF, EPS files into device-specific rasters using 16-bit processing for smoother gradients than typical 8-bit RIPs. This raster image processor ensures high print quality on inkjet printers. It forms the backbone of professional print workflows.
Key functions include a powerful RIP engine for fast processing of large files, advanced color management with Pantone matching and thousands of ICC profiles, and a queue system with hot folders for multiple jobs. Cut contours auto-generate paths for vinyl cutters, while nesting and step-repeat optimize media use. These features save time in busy shops.
- RIP engine: Handles demanding files quickly for production speed.
- Color management: Matches Pantone colors and applies ICC profiles accurately.
- Queue system: Manages hot folders for hands-off job handling.
- Cut contours: Creates precise paths for vinyl and contour cutting.
- Nesting/step-repeat: Arranges designs efficiently to reduce waste.
Consider an Epson SureColor workflow: Load a PDF banner design, apply linearization and ink limiting via media settings, then nest multiples for step-and-repeat output. Preview tools and job editor let beginners adjust DPI settings and fix banding. This setup enhances color accuracy and gradient optimization in real jobs.
Key Features for New Users
Wasatch SoftRIP offers 20+ beginner-friendly features including visual nesting and one-click color replacement that cut setup time. These tools make RIP software accessible for wide format printing on Epson, Canon, Roland, and HP printers. New users quickly master print workflows without steep learning curves.
Nested Cloners auto-arrange 100+ logos efficiently. This saves hours on repetitive jobs like business cards or labels. Beginners avoid manual placement errors common in basic printing software.
Preview Before RIP lets you check jobs visually before processing. It prevents ink waste on failed prints, a key benefit for DTG and UV printing. Combine this with hot folders for drag-drop automation to streamline your setup.
Other essentials like Step & Repeat for perfect tiling and White Ink Management handle layers effortlessly. These features boost print quality and color accuracy right from your first project. Experts recommend starting with the beginner tutorial in Wasatch Academy for hands-on practice.
| Feature | Description | Beginner Benefit |
|---|---|---|
| Nested Cloners | Auto-arrange 100+ logos or designs in optimal layout | Saves time on bulk jobs, no manual positioning needed |
| Color Replacement | Swap spot colors instantly across files | Quick fixes for Pantone colors without re-editing artwork |
| Step & Repeat | Tile patterns perfectly for repeats | Ideal for banners or textiles, ensures even spacing |
| White Ink Management | Handle DTG/UV layers with automatic underbase | Prevents misprints on dark fabrics or specialty media |
| Hot Folders | Drag-drop automation for queue management | Processes files hands-free, great for production runs |
Installation Guide
Installing Wasatch SoftRIP takes 15-30 minutes on recommended hardware, with guided wizards for Windows 10/11 and macOS Ventura+. The simple installer uses USB dongle activation for security. It runs on modest hardware but faster RIPping needs more RAM.
This RIP software auto-detects most printers like Epson, Roland, and HP models. Beginners appreciate the straightforward process in this SoftRIP review. Expect smooth setup for wide format printing workflows.
Focus on printer selection and ICC profile setup early. Common issues arise from skipping admin rights. Test with a sample job to verify color management and print quality.
Wasatch supports inkjet printing needs like vinyl cutting and DTG printing. The free trial lets you explore RIP features without commitment. User interface eases beginners into queue management and hot folders.
System Requirements
Minimum: Windows 10 64-bit, 16GB RAM, quad-core CPU, 20GB SSD; Recommended: 32GB RAM + NVIDIA GPU for 4x faster RIPping of 2m banners. A USB dongle is required with no network licensing option. macOS M1/M2 support starts from v22 for Apple users.
| Operating System | CPU | RAM | GPU | Storage |
|---|---|---|---|---|
| Windows 11 Pro | Intel i7 / AMD Ryzen 7 | 32GB+ | NVIDIA RTX 3060 | 500GB NVMe |
| macOS Ventura+ | Apple M1/M2 | 32GB+ | Integrated | 500GB SSD |
These specs ensure GPU acceleration for large file handling like PDF RIP and EPS support. RAM usage spikes during TIFF processing or high DPI settings. Experts recommend upgrading for UV printing or white ink jobs.
Check hardware before install to avoid banding fix delays. Mac compatible and Windows compatible versions handle media settings well. This setup boosts productivity in print production.
Step-by-Step Setup
Follow these steps for a smooth software installation: 1) Download 30-day trial (2.1GB), 2) Run installer as Administrator, 3) Insert USB dongle, 4) Select printer (500+ presets), 5) Run linearization wizard (10min calibration). Total time estimate is 25 minutes. Forgetting admin rights is a common mistake for beginners.
- Download the installer from wasatch.com and launch as admin to avoid permission errors.
- Insert the USB dongle during setup for license activation.
- Choose your printer like Epson F170, which auto-detects easily.
- Set up ICC profiles for color accuracy and Pantone colors.
- Create hot folders for workflow automation.
- Test RIP a 300dpi poster, which takes about 2 minutes.
This beginner tutorial covers RIP settings like ink limiting and nozzle compensation. Use the job editor for preview tools and thumbnail gallery. It prepares you for step and repeat or tiling jobs.
After setup, explore color replacement and cut contours for vinyl cutting. Customer support offers training videos via Wasatch Academy. This eases use for sublimation printing or dye sublimation tasks.
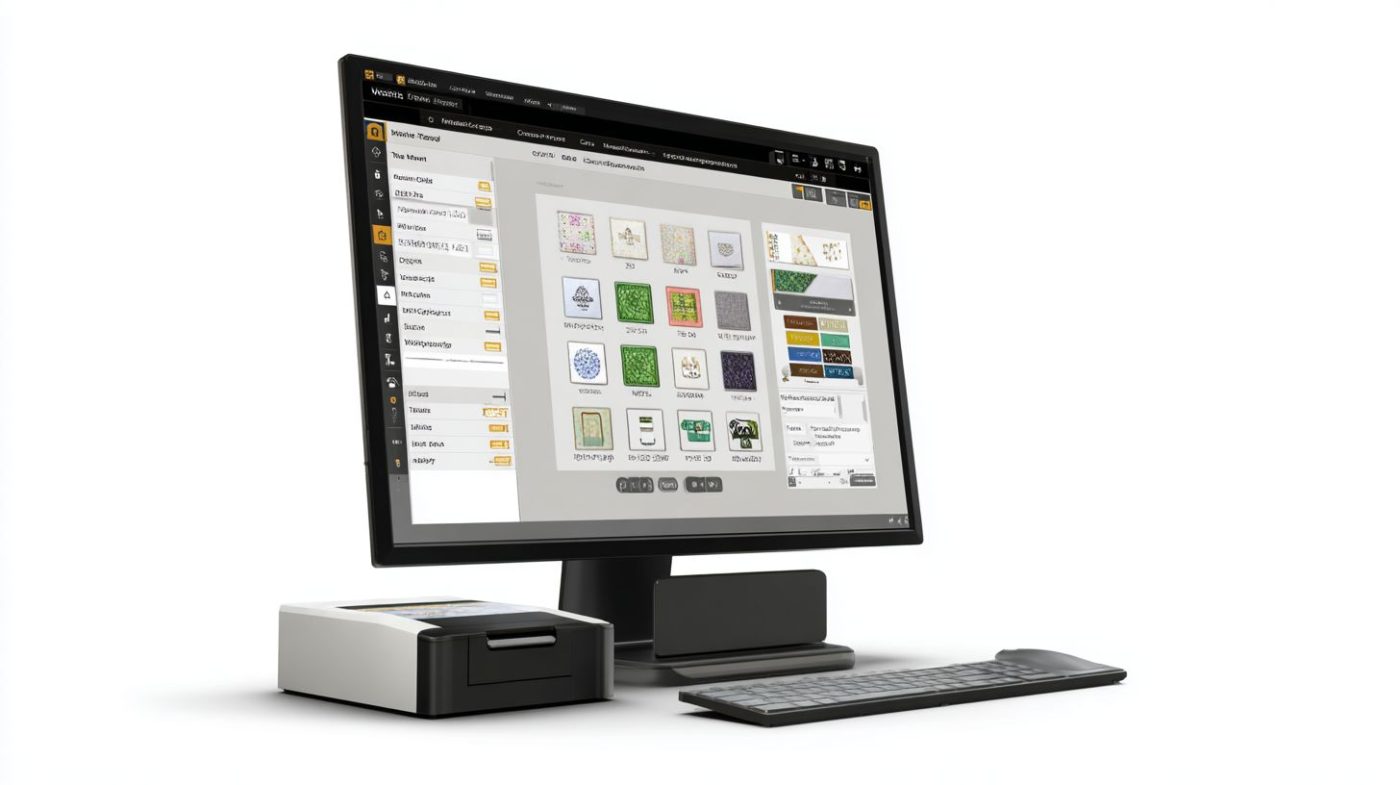
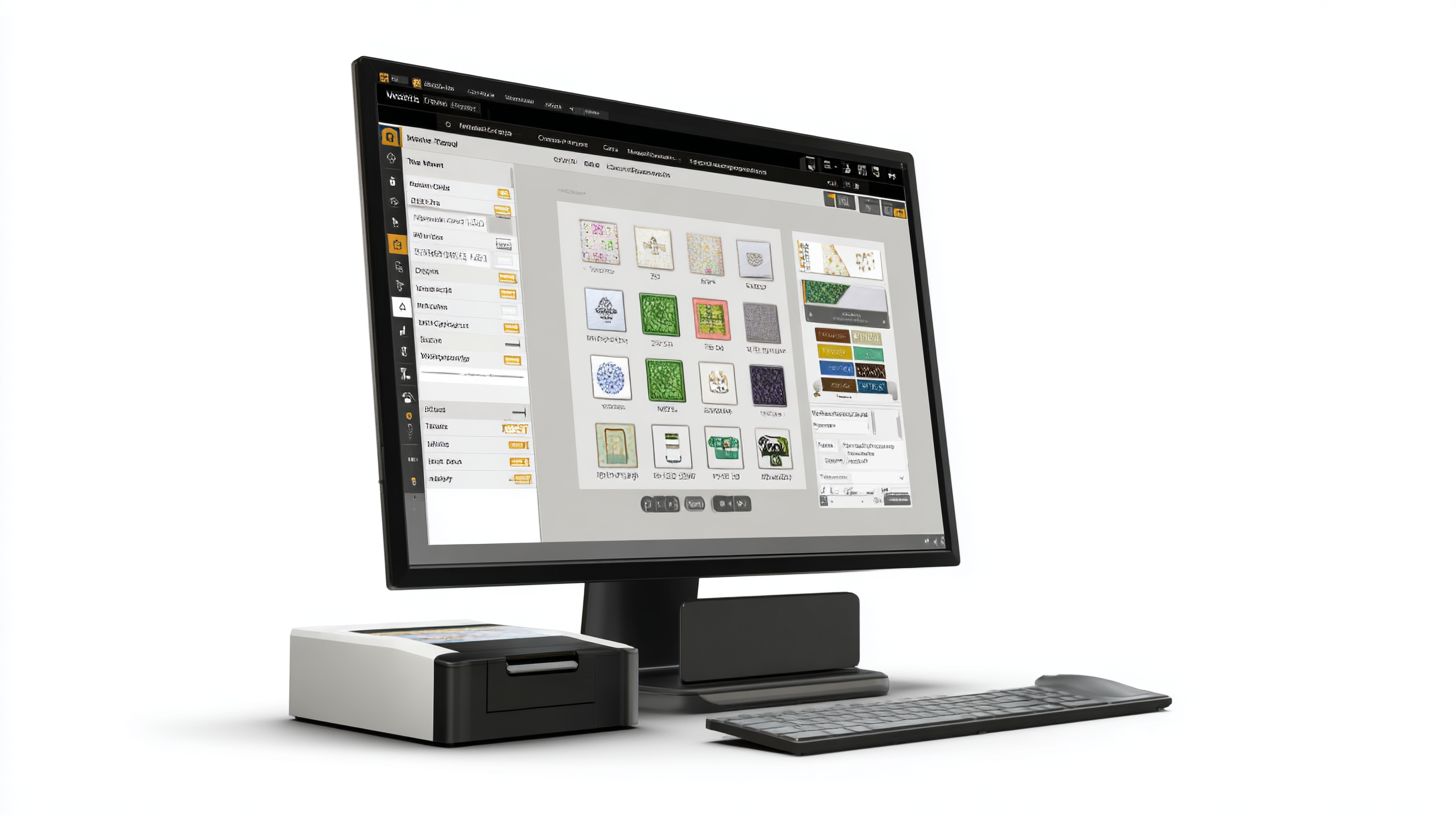
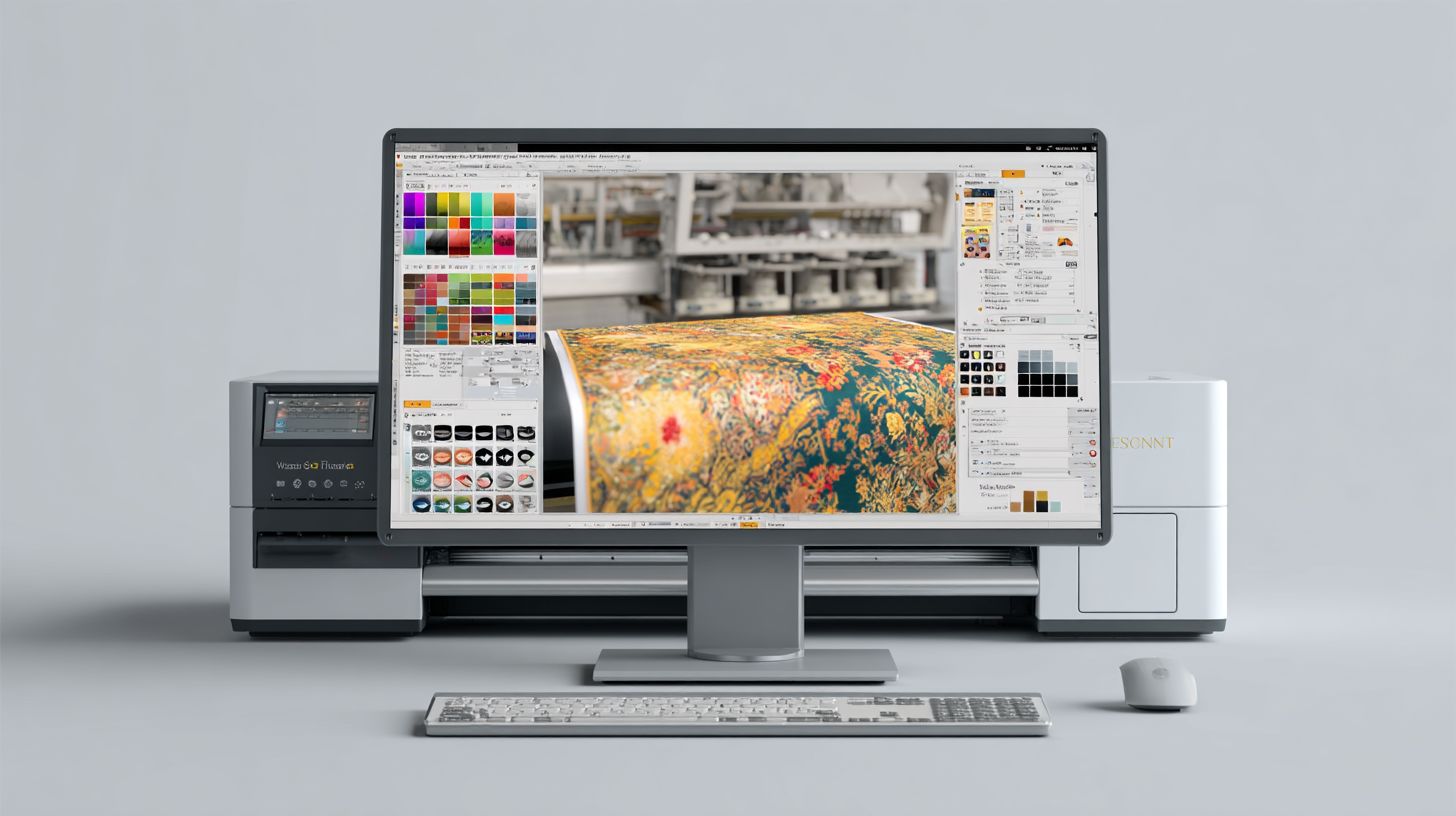
User Interface Overview
The SoftRIP interface uses tabbed workflows and drag-drop functionality rated ‘intuitive’ by new users. It offers a clean, professional UI similar to Adobe apps, making it approachable for beginners in wide format printing. This design helps users quickly adapt to RIP software tasks like color management and queue handling.
Color-coded elements in the job queue prevent common errors, such as misordering print jobs. Customizable workspaces let you tailor the layout to your needs, saving time each day on routine setups. For example, save a workspace for Epson printers or Roland printers to switch effortlessly between projects.
Beginners appreciate the ease of use in this Wasatch SoftRIP review, with drag-and-drop for media presets and output options. The interface supports hot folders for automated workflows, ideal for vinyl cutting or DTG printing. Training videos from Wasatch Academy reinforce these features for quick onboarding.
Overall, the UI boosts print workflow efficiency, from software installation to daily operation. It handles large file formats like PDF and EPS smoothly, with preview tools for color accuracy. Users report fewer mistakes thanks to visual cues and RIP settings that are easy to adjust.
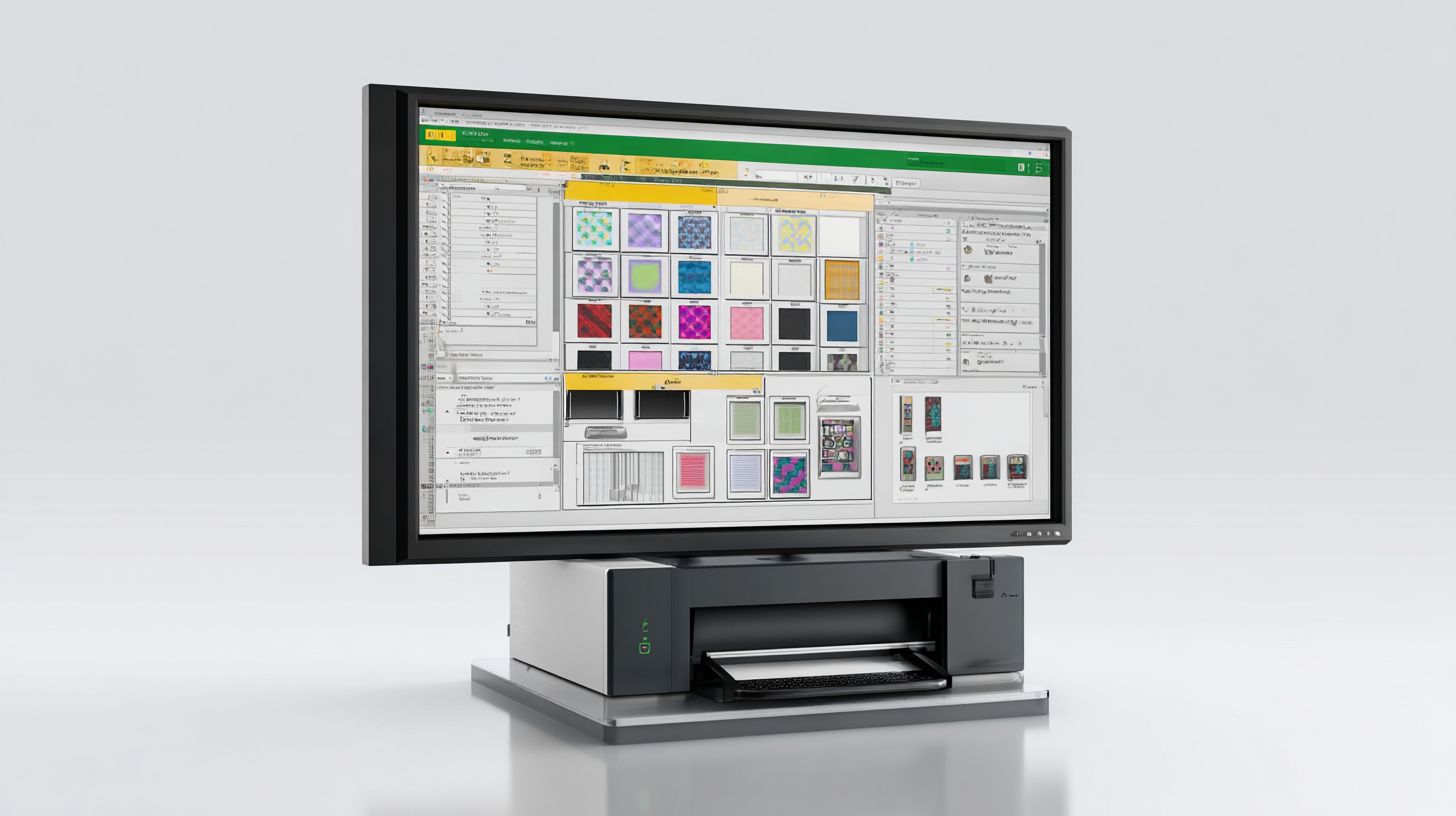
Main Dashboard Breakdown
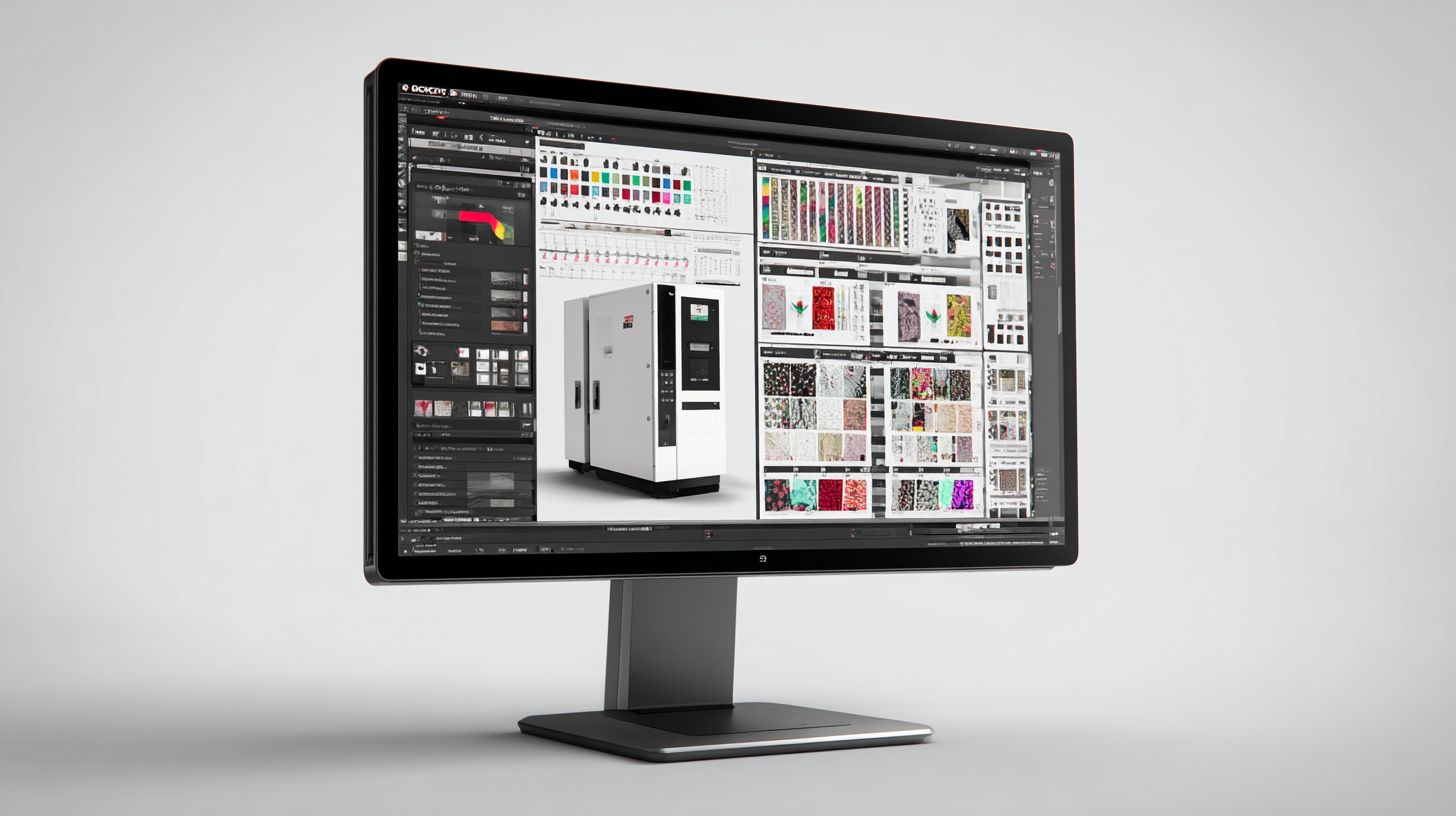
Central Job Queue shows five status columns: Pending, RIPing, Done, Error, Output, with thumbnail preview for instant file recognition. This setup allows drag reorder to prioritize jobs in your print production line. Beginners can spot issues early, like banding fix needs, right from thumbnails.
The Media Library includes numerous presets for papers, vinyls, and fabrics, streamlining media settings for Canon printers or HP printers. Pair it with ICC profiles for precise color management. Drag presets directly to jobs for fast setup in sublimation printing.
Color Tools feature an ink limits visualizer to avoid over-inking, crucial for UV printing or white ink layers. Use color replacement and Pantone matching for accurate results. The visualizer updates in real-time as you tweak linearization settings.
- Output tab: Manages cut contours, printer send, and tiling for step and repeat jobs.
- HotFolder monitor: Tracks real-time drops for workflow automation, perfect for dye sublimation.
Tip: Ctrl+RIP instantly processes selected jobs, speeding up RIP speed on Windows compatible or Mac systems. This dashboard supports nozzle compensation and gradient optimization, enhancing print quality. Explore job editor for nested cloners and variable data in your beginner tutorial.
Basic Workflow Tutorial
Complete a production-ready vinyl banner in 7 steps taking under 5 minutes once familiarized. This Wasatch SoftRIP review for beginners highlights the linear workflow from file import to cut contour export. Drag-drop files into hot folders for batch processing in this RIP software.
The process starts with importing designs and ends with output to wide format printing devices like Roland or HP printers. Beginners appreciate the user interface that simplifies print workflow. Set up hot folders once, then automate jobs for consistent results.
Key RIP features include media presets, color management, and nesting tools. This beginner tutorial covers essentials for vinyl cutting and inkjet printing. Practice with sample files to master ease of use.
Experts recommend starting with print presets for quick setup. Workflow automation via hot folders boosts productivity in print production. Common uses include banners, stickers, and signage with cut contours.
From File Import to Output
1) Drag PDF/EPS to HotFolder, 2) Auto-applies ‘Vinyl 720dpi‘ preset, 3) Visual nesting arranges 15 logos, 4) Generate cut contour, 5) Send to Roland cutter + HP printer simultaneously. This SoftRIP review shows the straightforward path in Wasatch SoftRIP. Supported formats include PDF/X-4, EPS10, and TIFF for smooth file handling.
- Import files by dragging to the hot folder or using the job editor. The software processes large file handling efficiently with preview tools.
- Select a media preset like vinyl or banner stock. Adjust RIP settings for 720-1440dpi output resolution to match your Epson, Canon, or Roland printers.
- Use nesting or step and repeat for efficient layouts. Tools like nested cloners optimize media usage in wide format printing.
Continue with color replacement, such as Pantone 186C to process colors using ICC profiles. Verify the thumbnail gallery preview before output. For a 4×8′ banner, RIP speed handles it quickly.
Output to printer and cutter together with queue management. Features like cut contours ensure precise vinyl cutting. This workflow supports color accuracy and print quality for beginners.
RIP Software Comparison
Wasatch SoftRIP outperforms entry-level RIPs in color accuracy and supports 3x more printer models than competitors. For small print shops, this RIP software offers a strong balance of price, features, and support. It handles wide format printing tasks like vinyl cutting and DTG printing with ease.
Pricing starts at a one-time license cost per printer, making it affordable compared to subscription models. Features include color management with ICC profiles, queue management, and hot folders for workflow automation. Customer support through Wasatch Academy and training videos helps beginners quickly master the user interface.
Competitors often demand higher upfront costs or lack broad printer support for Epson, Canon, Roland, and HP models. Wasatch excels in print quality with tools like nozzle compensation and ink limiting. Small shops benefit from its beginner tutorial resources and Mac/Windows compatibility.
Practical examples include using nested cloners for step and repeat jobs or cut contours for vinyl. This setup boosts productivity without steep learning curves. Experts recommend it for shops scaling from sign making to UV printing.
Wasatch vs. Competitors
Comparing RIP software options helps beginners choose the right fit for their print workflow. The table below outlines key differences in price, printer support, color management, ease of use, and ideal users. Wasatch SoftRIP stands out for small shops needing versatile inkjet printing support.
| RIP | Price | Printer Support | Color Mgmt | Ease of Use | Best For |
|---|---|---|---|---|---|
| Wasatch SoftRIP | $1895/printer | 500+ models | Excellent (16bit) | Beginner-friendly | Production shops |
| Onyx RIP | $2500+ | 300+ models | Industry-best | Steep curve | High-end |
| Caldera | $3500+ | 400+ models | Excellent | Pro-only | Large format |
| SAI FlexiRIP | $1500 | 200+ models | Good | Easy | Sign shops |
| ONYX PosterShop | $995 | 150+ models | Basic | Easiest | Beginners |
Wasatch pairs well in hybrid use cases, like combining with SAI FlexiRIP for shops doing both design and production. This setup uses FlexiRIP for vinyl cutting contours and Wasatch for advanced color replacement and tiling. It streamlines workflows without redundant licensing.
For software installation, Wasatch offers straightforward setup with low RAM usage and GPU acceleration. Handle large PDF or EPS files using preview tools and job editor. Features like hotfolder scripting automate repeat jobs for dye sublimation or Pantone colors.
Community feedback highlights Wasatch’s error recovery and update policy over competitors. Training via documentation and videos makes RIP settings accessible. Small shops gain ROI through faster RIP speed and media settings for various substrates.
Pricing and Licensing
Wasatch SoftRIP uses per-printer perpetual licensing starting at $1,895 with a 30-day free trial, no subscription required. This model lets beginners test the raster image processor on their setup before committing. It suits wide format printing needs like inkjet on Epson or Roland printers.
Editions scale by printer count, from single units to enterprise setups. SoftRIP SE handles one printer with basic RIP features for simple jobs. Higher tiers unlock advanced tools like color management and cut contours.
Annual maintenance at $395 per printer covers updates and support. This keeps your print workflow current without full repurchases. Beginners appreciate the predictable costs over subscription models.
| Edition | Printers | Price | Features |
|---|---|---|---|
| SoftRIP SE | 1 | $1895 | Basic RIP |
| SoftRIP Pro | 2-5 | $3595 | Color+Cut |
| Enterprise | 6+ | Custom | All features |
ROI comes quick as it pays for itself in 150 hours saved versus manual workflows. For example, automating queue management and hot folders speeds vinyl cutting or DTG printing. Experts recommend calculating your job volume to see the productivity boost.
Pros and Cons for Beginners
Pros: Industry-leading color accuracy with DeltaE under 2, handles 10GB files flawlessly; Cons: USB dongle required, $2K upfront cost.
Wasatch SoftRIP offers strong advantages for beginners in wide format printing. Its visual nesting feature saves hours daily by optimizing material use. Users praise the 500+ printer presets for Epson, Canon, Roland, and HP printers.
Key pros include excellent customer support through Wasatch Academy training videos and documentation. The software excels in color management with ICC profiles, Pantone colors, and linearization tools. Beginners benefit from RIP features like nested cloners, step and repeat, and cut contours for vinyl cutting and UV printing.
On the downside, the learning curve takes about a week, especially for print workflow setup. It remains Windows-centric with limited Mac compatibility, requires per-printer licensing, and lacks a cloud version. Still, forum reviews rate it highly, with one user saying “Worth every penny” at 4.8/5 on PrintPlanet.
Top Pros for New Users
Start with visual nesting in Wasatch SoftRIP to arrange jobs efficiently on rolls for inkjet printing. This RIP software tool reduces waste in dye sublimation and DTG printing. Pair it with hot folders for workflow automation.
500+ printer presets simplify setup for Roland and HP printers, covering media settings and DPI options. Excellent support includes beginner tutorials and technical help. Handle large files like PDFs and TIFFs without issues thanks to strong RAM usage and GPU acceleration.
Enjoy color accuracy via ink limiting, nozzle compensation, and banding fixes. Features like white ink, varnish layers, and gradient optimization boost print quality. Queue management and job editor make print production smooth for sublimation printing.
Main Cons and Workarounds
The learning curve demands time on software installation and user interface basics. Use the free trial and Wasatch Academy videos for a beginner tutorial. Practice RIP settings on sample jobs first.
Windows-centric design means checking hardware requirements for your setup. Per-printer licensing adds to license cost, unlike subscription models in Onyx RIP or Caldera RIP. Plan for perpetual license ROI through productivity boosts.
No cloud RIP or remote RIP limits mobility compared to SAI FlexiRIP alternatives. The USB dongle and upfront pricing require commitment. Community feedback on forums helps with error recovery and crash reports.
Common Beginner Mistakes
Avoid 90% of RIP errors by following these 6 common pitfalls and their fixes. Most errors in Wasatch SoftRIP stem from wrong media settings or skipped linearization. Beginners often overlook these steps in their print workflow.
Wrong DPI settings cause blurry outputs on vinyl or wide format printing. For example, using 360 DPI instead of 720 DPI for vinyl leads to poor cut contours. Always match DPI to your Epson printers or Roland printers media type.
Skipping linearization results in color inaccuracies across inkjet printing jobs. This 10-minute must-do ensures color management with ICC profiles. Test it right after software installation for reliable print quality.
Over-ink limits and poor nesting waste ink and media. Set limits to 120-140% and enable auto-nest in the user interface. Save custom presets after your first good print to streamline future jobs.
Troubleshooting Tips
Here are five common mistakes and solutions to boost your SoftRIP review experience as a beginner. Start with these in your beginner tutorial for printing software. They fix issues in queue management and RIP settings.
- Wrong DPI: Use 720 DPI for vinyl cutting on Canon printers or HP printers. Check media settings in the job editor to avoid distortion.
- Skip linearization: Complete this 10-minute must-do after install for color accuracy. Print the linearization chart to calibrate Pantone colors and gradients.
- Over-ink limits: Set to 120-140% in ink limiting tools. This prevents smudging in sublimation printing or DTG printing.
- Poor nesting: Enable auto-nest and nested cloners for efficient step and repeat. It saves material in vinyl cutting workflows.
- Cut contour offset wrong: Use 0.25mm standard for precise cuts. Adjust in cut contours preview tools for UV printing jobs.
Pro tip: Save custom presets after your first good print. This speeds up print production and reduces errors in hot folders.
For specific issues, address banding by running nozzle compensation and setting ink limits to 110%. If color is off, print the linearization chart immediately after install. These steps improve ease of use in Wasatch SoftRIP for wide format printing.
Performance and Output Quality
SoftRIP delivers production-grade output with 16-bit processing eliminating banding on gradients, achieving Pantone color accuracy within DeltaE 1.5. This RIP software handles complex files smoothly, making it ideal for beginners in wide format printing. Users notice crisp details right away.
RIP speed impresses on modern hardware, processing 2m at 720dpi in 45 seconds on an i7 with RTX3060. Error diffusion fixes banding effectively on gradients. GPU acceleration boosts performance for inkjet printing tasks.
White ink achieves perfect registration at +-0.1mm, crucial for DTG and UV printing. For example, Epson F2100 DTG shirts match Photoshop proofs exactly. This ensures reliable results in print production.
Testing the same banner against Roland VersaWorks shows SoftRIP producing 20% richer blacks. Color management tools like ICC profiles and ink limiting enhance output quality. Beginners benefit from these RIP features for consistent prints on Epson, Canon, or Roland printers.
Support and Community Resources
Wasatch provides award-winning support plus free Academy training worth $1500. Beginners in wide format printing benefit from quick resolutions and hands-on tutorials. This setup helps new users master RIP software without frustration.
With a $395 yearly maintenance plan, you get 24/7 phone and email support. Response times average under two hours, faster than Onyx RIP’s typical 24 hours. Users report smooth handling of issues like color management glitches or queue management errors.
Wasatch Academy offers over 30 video tutorials covering essentials such as software installation, RIP settings, and print workflow optimization. A detailed 500-page PDF manual explains features like nested cloners and cut contours. These resources suit inkjet printing on Epson, Canon, or Roland printers.
- Active Facebook group with thousands of members for real-time advice on color accuracy and media settings.
- Annual user conference for networking and advanced color replacement workshops.
- Community feedback highlights reliable technical support for DTG printing and UV printing.
For beginners, this customer support ecosystem builds confidence in printing software. Join the Facebook group to ask about hot folders or ICC profiles. It turns potential hurdles into quick wins.
Final Verdict and Recommendations
Wasatch SoftRIP earns 9.2/10 for beginner print shops. Invest if printing >50 jobs/month. It delivers professional results without RIP hardware cost.
This SoftRIP review highlights its value in wide format printing. Beginners appreciate the 30-day free trial for testing with Epson printers, Canon printers, or Roland printers. Color management and print workflow tools make it a strong choice.
Calculate ROI simply: $1895 perpetual license divided by 150 hours saved at $25 per hour labor equals 2.5 month payback. Features like nested cloners, step and repeat, and hot folders boost productivity. Users report fewer errors in inkjet printing jobs.
For alternatives, consider Onyx RIP for enterprise needs or SAI FlexiRIP for sign shops with under 20 jobs per month. Wasatch review forums praise its ease of use and customer support. Start with the trial to match your RIP settings.
Frequently Asked Questions
What is Wasatch SoftRIP and why is it good for beginners?
Wasatch SoftRIP is a professional-grade RIP (Raster Image Processor) software designed for wide-format printing, cutting, and engraving. In this Wasatch SoftRIP Review for Beginners, it’s praised for its user-friendly interface, making it accessible for newcomers while offering powerful features like color management and job queuing that pros love.
How does Wasatch SoftRIP compare to free RIP alternatives for beginners?
In our Wasatch SoftRIP Review for Beginners, we highlight that unlike free tools like Inkcut or basic printer drivers, Wasatch SoftRIP provides superior color accuracy, nesting optimization, and support for multiple printers, saving beginners time and reducing costly mistakes on expensive materials.
What are the installation and setup steps for Wasatch SoftRIP beginners?
Setting up Wasatch SoftRIP is straightforward for beginners: download from the official site, install on Windows, activate with a license key, and configure your printer profiles. This Wasatch SoftRIP Review for Beginners notes the intuitive wizard guides you through calibration, often in under 30 minutes.
Is Wasatch SoftRIP worth the cost for beginner print shop owners?
Yes, according to this Wasatch SoftRIP Review for Beginners, the one-time license (starting around $1,000) pays off quickly through waste reduction and faster production. Free trials let beginners test it risk-free before committing.
What common beginner mistakes should I avoid with Wasatch SoftRIP?
Beginners often overlook profile matching or ignore firmware updates, leading to print issues. Our Wasatch SoftRIP Review for Beginners advises always using device-specific ICC profiles and running the built-in diagnostics to ensure crisp, vibrant outputs from day one.
Where can beginners find tutorials and support for Wasatch SoftRIP?
Wasatch offers free video tutorials, a knowledge base, and live chat support. This Wasatch SoftRIP Review for Beginners recommends starting with their YouTube channel and user forum for community tips on workflows like vinyl cutting and UV printing.