
RIP Software
Best RIP Software for Beginners Printing
Mar
Struggling with faded prints or color mismatches as a printing newbie? RIP software transforms your output into professional-grade results effortlessly.
Discover why beginners rely on it for precise color management and workflow efficiency, plus essential features like intuitive interfaces. We preview top picks-ONYX RIP Pipeline, EFI Fiery Pro, and Wasatch SoftRIP-with comparisons, costs, setup tips, and pitfalls to avoid. Unlock flawless prints today!
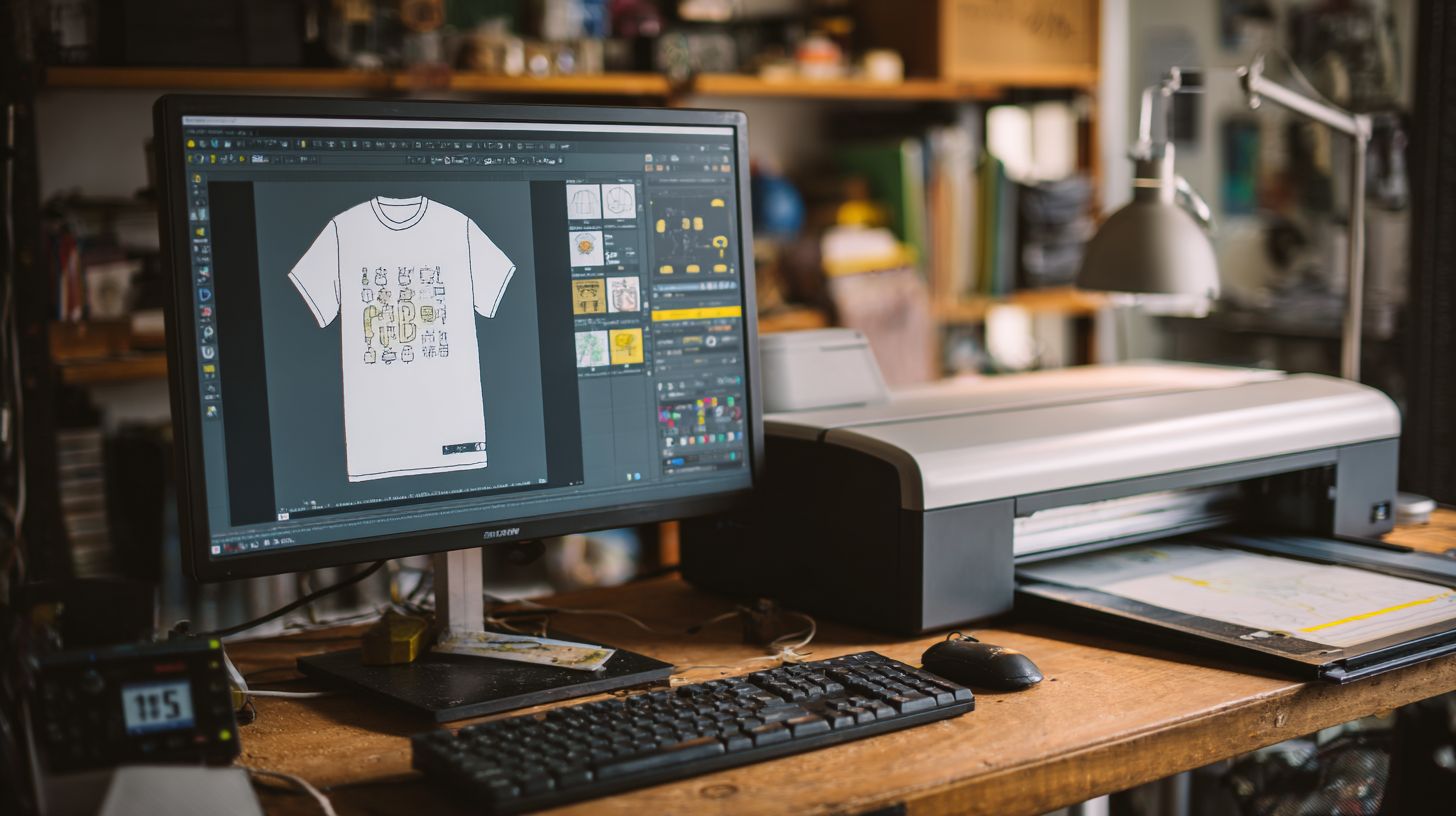
What is RIP Software?
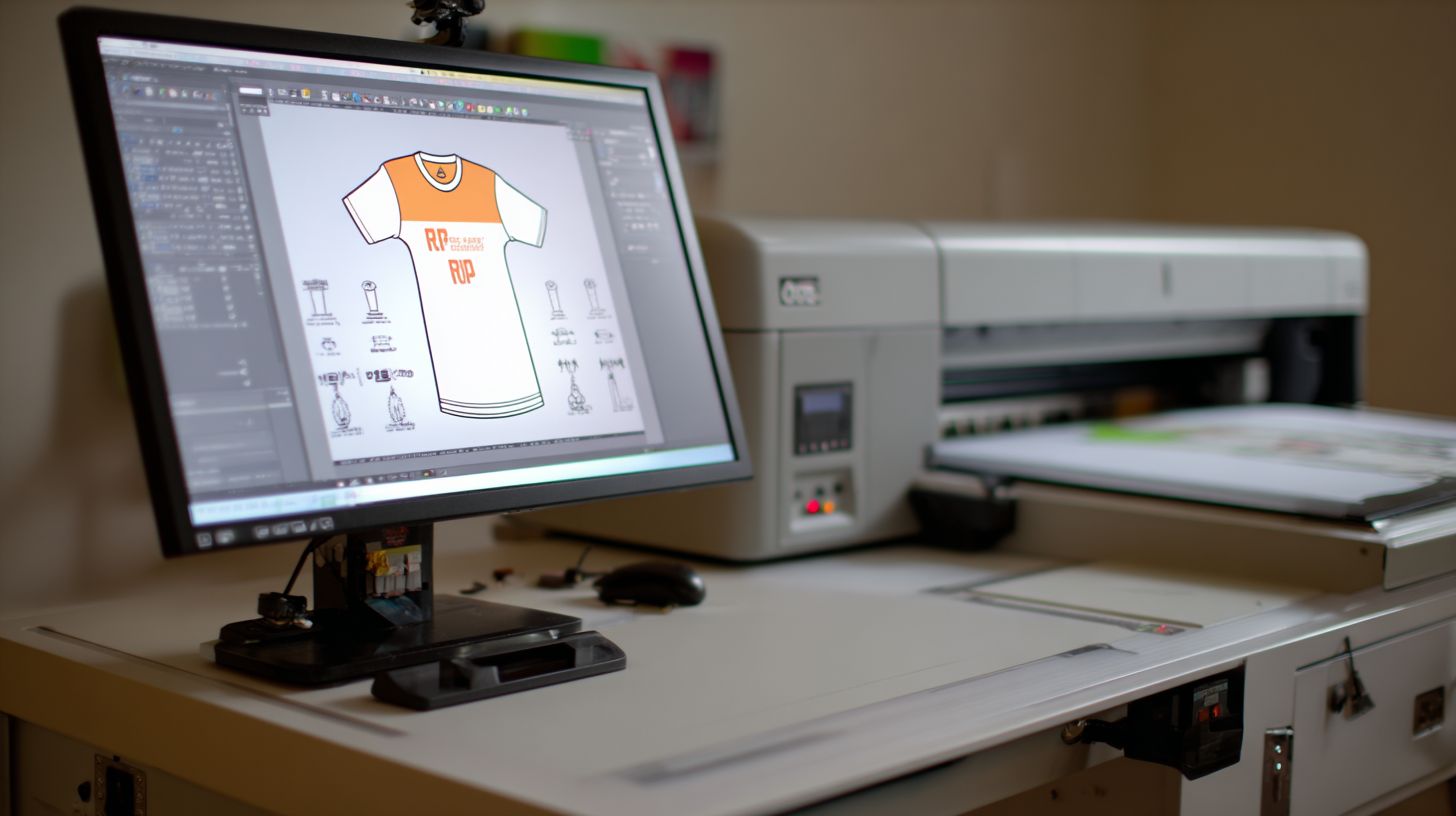
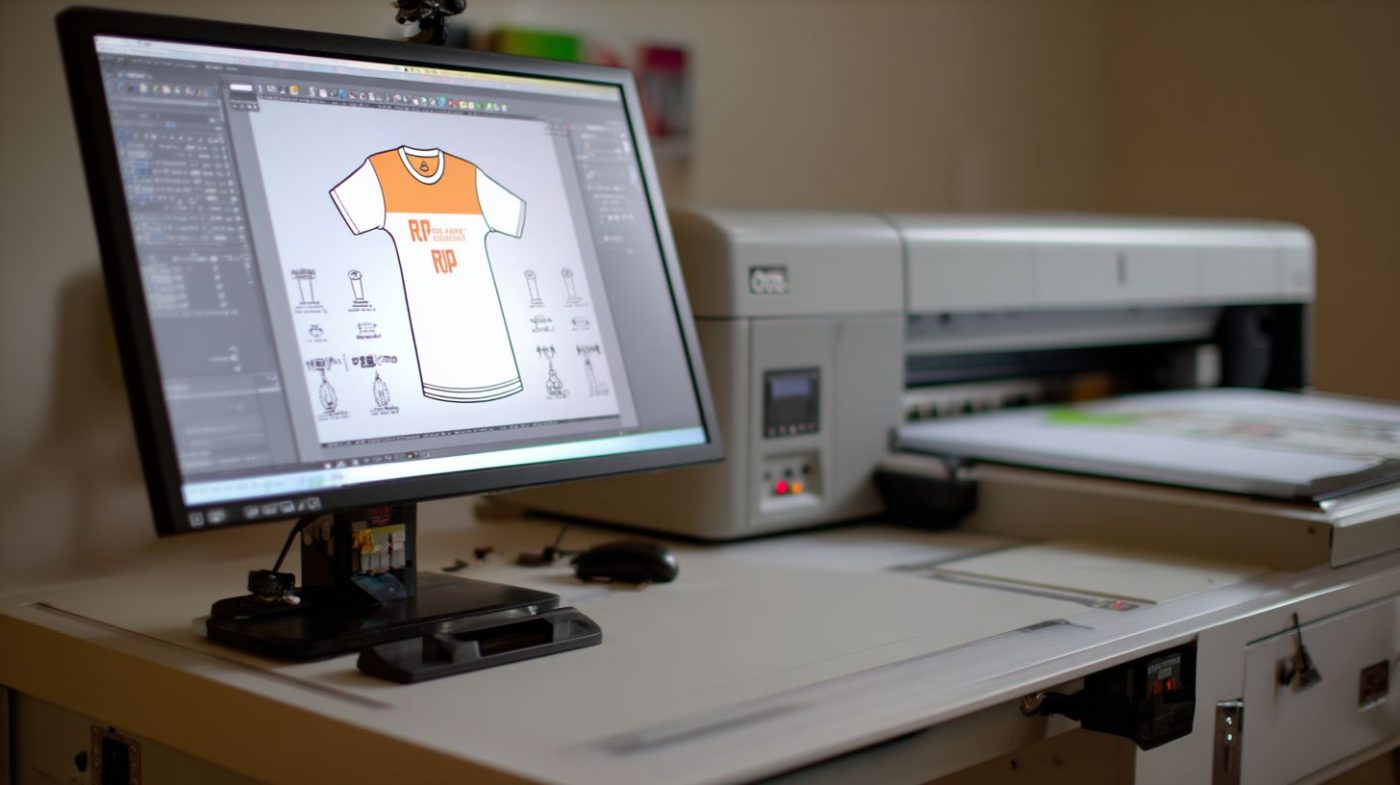
RIP (raster image processor) software converts vector files like PDF and EPS into printer-ready raster images, handling color management, halftoning, and resolution optimization essential for DTG, sublimation, and large format printing.
This RIP software printing tool processes print files for accurate color, resolution from 300-1440 DPI, and printer-specific output. It supports formats such as PDF, EPS, TIFF, and SVG. Common workflows follow ISO 12647-2 printing standards for consistent results.
Unlike standard printer drivers, RIP handles ICC profiles, ink limits, and nesting. Printer drivers send basic files directly, often causing color shifts. RIP ensures precise output for printers like Epson, Roland, or Mimaki.
Visualize the RIP workflow: file input (PDF or EPS) enters the RIP, which applies color profiles and rasterizes at optimal DPI, then sends data to the printer. This setup improves RIP for DTG printing, sublimation, and vinyl jobs. Beginners benefit from user-friendly RIP interfaces with preview tools.
Why Beginners Need It
Beginners waste hours per job troubleshooting color shifts and banding without RIP. Software like AcroRIP cuts setup time through automated color profiling and preview functions. This makes beginner friendly RIP essential for smooth starts.
RIP for beginners solves key issues. First, it fixes color mismatch with ICC profile automation. Second, advanced halftoning prevents banding and posterization in inkjet or UV prints.
Third, auto-nesting handles incorrect scaling and saves material on vinyl or textile jobs. Fourth, it ensures file compatibility by linearizing PDF and EPS files. These features support RIP for t-shirt printing and large format work.
Common problems include faded colors on DTG prints or distorted edges in sublimation. With easy RIP software, users preview outputs, adjust ink limits, and queue jobs via hot folders. Experts recommend starting with trial versions of top RIP software like ONYX or Caldera for quick learning.
Key Features for Beginners
Essential RIP features for beginners include visual job previews, one-click ICC profile application, and 300-1440 DPI auto-resolution matching. These tools prevent most common print defects in RIP software for beginners. They simplify the RIP workflow for printing tasks like DTG, sublimation, and vinyl.
Focus on five core features that eliminate trial-and-error printing. Visual previews let users check layouts before output, reducing waste. ANSI/CGATS.21-2013 color standards ensure accurate color management in best RIP software.
One-click ICC profiles handle RIP color management automatically. Auto-resolution matching supports DPI RIP settings for printers like Epson or Roland. Nesting and tiling features optimize media use in large format printing.
Hot folder automation and batch processing streamline jobs. These make beginner friendly RIP options like ONYX or AcroRIP ideal for new users. Preview tools cut down on errors in RIP for printing.
User-Friendly Interfaces
Drag-and-drop interfaces like ONYX Advantage’s Visual Preview reduce learning time, with thumbnail galleries and real-time DPI feedback. This suits printing software beginners handling PDF, EPS, or TIFF files. RIP interface design focuses on simplicity for quick setup.
ONYX uses a tabbed workflow with color-coded errors, guiding users from Job Queue to Preview to Print. AcroRIP offers single-screen simplicity for easy RIP software. Wasatch provides wizard-based steps, ideal for RIP tutorial followers.
- ONYX: Tabbed panels show job queue preview print flow with error highlights.
- AcroRIP: One dashboard for RIP nesting, scaling, and output.
- Wasatch: Step-by-step wizards for RIP color profiles and halftone settings.
Hot folder automation drops files for instant processing in RIP queue. These interfaces support printer RIP integration with Mimaki, HP, or Canon. Beginners gain confidence in digital printing RIP workflows.
Top RIP Software Recommendations
Top beginner RIPs include ONYX Pipeline ($2,495), EFI Fiery ProServer ($3,995+), and Wasatch SoftRIP ($1,995), each optimized for specific workflows from DTG to large format. These best RIP software options suit RIP for beginners with trial versions available. All require minimum specs like Windows 10 and 16GB RAM for smooth RIP workflow.
ONYX targets Epson and Roland printers for textile printing. EFI Fiery fits HP and Canon production setups in large format. Wasatch works well with Mutoh and Mimaki for sign shops.
Beginners appreciate user-friendly RIP interfaces and RIP tutorials in these tools. They handle ICC profiles, color management, and batch processing. Start with a RIP trial to test RIP installation on your setup.
Compare RIP reviews for printing RIP comparison. Look at RIP pros cons like ease of RIP queue management. These top RIP software recommendations cover beginner friendly RIP needs.
1. ONYX RIP Pipeline
ONYX RIP Pipeline ($2,495-$9,995) dominates DTG/sublimation with patented PosterSpeed nesting (saves media) and 10,000+ ICC profiles for Epson, Roland, Mimaki printers. Price tiers include Pipeline $2,495 and Production $4,995. A 30-day trial lets beginners test ONYX RIP features.
Key tools like HotFolders, RIP-Queue, and linearization tools streamline RIP workflow. Best for DTG printing and textile jobs with strong white ink control. Epson SureColor F2100 users report faster throughput.
Pros include industry standard status and precise RIP color profiles. Cons involve a steep learning curve, but RIP tutorials and RIP YouTube tutorial resources help. Ideal for RIP for t-shirt printing.
Set up print RIP setup with RIP nesting for media savings. Use RIP preview for DPI RIP checks on PDF, EPS, TIFF files. RIP troubleshooting support aids new users.
2. EFI Fiery Pro
EFI Fiery ProServer ($3,995+) excels in production environments with Fiery Command WorkStation, centralized job tracking reduced HP Latex operators’ queue time. Enterprise features cover job accounting, MIS integration, and variable data. Try FreeCommand WorkStation Lite for basics.
Best for large format printing and UV printing on HP and Canon setups. Pros feature color consistency across printer fleets. Cons include Windows-only support and higher RIP cost.
Print shops benefit from zero color drift in high-volume runs. RIP automation handles RIP batch processing and job tracking. Suits digital printing RIP needs with RIP halftone options.
Integrate RIP hardware integration for HP RIP workflows. Manage RIP ink limits and RIP calibration easily. RIP support and RIP community assist with RIP learning curve.
3. Wasatch SoftRIP
Wasatch SoftRIP ($1,995) offers best value for vinyl/cut contour workflows with unlimited batch processing and free Epson/Roland profiles, ideal for shops under 500 sq ft. Pricing includes $1,995 full and $995 upgrade from v20. Supports Mac/Windows for flexible RIP installation.
Features like cut contours, tiling, and step-repeat aid sign shops. Best for RIP for vinyl printing with easy ICC creation. Pros include user-friendly RIP and low waste.
Sign makers save on vinyl waste yearly. Upgrade path simplifies RIP update. Fewer production tools mark the cons, but it fits affordable RIP software.
Use RIP tiling and RIP cropping for wide format RIP. Handle RIP file formats like PDF with RIP scaling. Join RIP forum for RIP guide beginners.
Comparison Criteria
Compare RIP software by six criteria: price, learning curve in hours to proficiency, printer support for 15+ brands, color accuracy with Delta E under 2.0, workflow speed, and support quality. These metrics help beginners pick the best RIP for printing without guesswork. Focus on beginner friendly RIP options like ONYX, EFI Fiery, Wasatch, and free alternatives such as AcroRIP.
RIP learning curve measures time to handle basic tasks like PDF RIP processing or RIP nesting. Printer support covers brands like Epson, Roland, and Mimaki for DTG printing, sublimation, or vinyl. Color accuracy ensures vibrant outputs with proper ICC profiles RIP setup.
Workflow speed tracks RIP queue handling and batch processing for efficiency in large format printing. Support quality includes tutorials, forums, and vendor help for RIP troubleshooting. G2 and FGIA ratings provide real-user insights on RIP reviews.
Hybrid setups shine here, like Wasatch + ONYX plugins for expanded features. Beginners benefit from RIP trials to test these criteria. This approach simplifies choosing printing software for beginners.
| Criteria | ONYX | EFI Fiery | Wasatch | AcroRIP (Free Alt) |
|---|---|---|---|---|
| Learning Curve (Hours to Proficiency) | 12 hours | 10 hours | 6 hours | 4 hours |
| Printers Supported | 45+ brands | 40+ brands | 25+ brands | 20+ brands |
| Color Accuracy (Delta E) | <2.0 with calibration | <2.0 with calibration | <2.0 with calibration | <2.0 with calibration |
| G2 Rating | 4.5/5 | 4.6/5 | 4.4/5 | 3.8/5 |
| FGIA Rating | Excellent | Excellent | Very Good | Good |
| Hybrid Potential | Plugins available | Limited | ONYX plugins excel | Basic |
Cost and Licensing
RIP costs range $0 (AcroRIP trial) to $15K+ (enterprise EFI Fiery XF). Most beginners start with $1,995 Wasatch or $89/month ONYX subscriptions. These options fit various budgets in RIP software printing.
Perpetual licenses like Wasatch RIP offer one-time payment for lifetime use. Subscriptions such as ONYX Flex provide monthly access with updates included. Per-printer models like AcroRIP at $299 suit single setups, while enterprise EFI exceeds $10K for large operations.
Licensing uses dongle or softkey methods. Dongles are USB devices for hardware protection, common in Wasatch RIP. Softkeys tie to your machine’s ID, seen in ONYX Advantage, making them beginner friendly RIP.
Maintenance runs 15-20% annually for support and upgrades. Free trials last 30 days standard, letting you test RIP workflow before buying. Beginners breakeven in 150 print jobs via waste reduction from better RIP color management.
Pricing Models Breakdown
Choose perpetual licensing for long-term ownership, like Wasatch at $1,995. It avoids ongoing fees but requires separate updates. Ideal for stable RIP for printing needs in DTG or vinyl printing.
Subscription models, such as ONYX Flex $89/month, include cloud features and regular patches. They suit growing shops testing best RIP for printing. Cancel anytime if needs change.
Per-printer pricing like AcroRIP $299 limits to one device, perfect for beginner RIP software on Epson or Roland printers. Enterprise EFI over $10K adds MIS integration for high-volume large format printing.
Compare via 30-day RIP trials to match your printing workflow software. Factor in RIP cost against savings in ink and media waste for quick ROI.
Licensing Options: Dongle vs Softkey
Dongle licensing plugs into USB, used by Wasatch and AcroRIP. It allows easy transfer between computers for RIP hardware integration. Secure for shared shop environments.
Softkey licensing binds to hardware ID, common in ONYX and EFI Fiery. No physical device needed, simplifying RIP installation on macOS or Windows.
Beginners prefer softkeys for easy RIP software setup. Check RIP license portability if upgrading machines. Both support RIP queue and hot folders.
Maintenance and Trials
Annual maintenance fees cover support, bug fixes, and new ICC profiles RIP. Expect 15-20% of base cost for top RIP software like Caldera or ErgoSoft.
Free RIP trials run 30 days, including full RIP features list like nesting and tiling. Download from vendor sites to test RIP preview on your files.
Trials help evaluate RIP learning curve with tutorials. Pair with RIP YouTube tutorial for print RIP setup. This ensures the best beginner RIP fits your vinyl or UV printing.
Getting Started Guide
Set up Wasatch SoftRIP in 45 minutes: 1) Download 1.2GB installer from wasatch.com, 2) Install on Windows 10+ (16GB RAM minimum), 3) Connect Roland printer via USB/Ethernet, 4) Load Epson ICC profile, 5) Test 300 DPI PDF output. This beginner friendly RIP simplifies the printing workflow for new users. Follow these steps to launch your RIP software printing setup quickly.
Start with system requirements like an i7 processor, 16GB RAM, and SSD storage. These ensure smooth handling of raster image processor tasks. Check your hardware before proceeding to avoid delays.
The full process takes 45-90 minutes depending on your experience. Common issues include wrong USB drivers or outdated ICC profiles. Address them early for reliable RIP for printing.
Once complete, you can process files like PDFs or EPS with color management and preview options. This guide covers top RIP software essentials for beginners in DTG, sublimation, or vinyl printing.
8-Step Setup for Beginner RIP Software
- Verify system requirements: Use i7 CPU, 16GB RAM, SSD. Windows 10+ works best for desktop RIP.
- Download and install: Get the installer and run it. Restart your computer after setup.
- Connect via USB or Ethernet: Plug in your Roland or Epson printer. Install correct drivers first.
- Perform printer calibration: Run the built-in tool to align print heads. Print a test pattern.
- Import ICC profiles: Load profiles for your media like Epson or Roland. Match them to ink and paper.
- Set up HotFolder: Create a watched folder for automatic job queuing. Drag files in to process.
- Test print: Output a PDF at 720 DPI. Check colors and sharpness on your material.
- Configure batch queue: Prioritize jobs and set RIP parameters like resolution or nesting.
This RIP tutorial builds a solid RIP workflow. Test with simple files like logos.tif or banner.eps for vinyl printing.
Common Pitfalls and Troubleshooting
Wrong USB drivers often cause connection failures in printing RIP. Download the latest from the printer maker’s site. Match them to your OS version.
Outdated ICC profiles lead to color shifts in RIP color management. Update them from the vendor for accurate gamut mapping. Test with a color chart.
Other issues include low RAM causing crashes during batch processing. Close other apps and increase virtual memory. Join RIP forums for community tips on RIP troubleshooting.
For beginner printing software, enable RIP preview before output. This catches errors like banding or misalignment early in your wide format RIP jobs.
Common Beginner Mistakes
Mistake #1: Skipping linearization causes color shifts. Calibrate weekly using X-Rite i1 with your RIP software’s built-in tools to keep colors consistent. This simple step in your RIP workflow prevents most printing issues for beginners.
Many new users overlook RIP calibration, leading to mismatched prints. Pair your printer RIP like Epson or Roland with regular checks. Experts recommend this for Delta E under control in vinyl or DTG printing.
Real case: A shop lost $2K in vinyl to banding, fixed with RIP halftone adjustment. They switched to beginner friendly RIP tools for better control. Now their large format printing runs smoothly.
Avoid these pitfalls with top RIP software that guides you. Focus on RIP tutorials for setup. Your printing RIP choice matters for long-term success in inkjet or sublimation jobs.
Mistake #1: No Linearization
Without linearization, ink output varies across your printer. Use X-Rite calibration weekly in RIP software printing. This ensures even density in every RIP output.
For RIP for vinyl printing or UV, run the process in your user-friendly RIP interface. It builds a custom curve for your setup. Beginners see huge gains in color management.
Integrate this into your RIP queue for automation. Tools like ONYX or AcroRIP make it easy. Skip it, and face reprints on photo paper jobs.
Mistake #2: Wrong DPI Settings
Setting the wrong DPI wastes ink and time. Match your printer: 720 DPI for vinyl, 1440 DPI for photo. Check your RIP resolution options first.
In best RIP for printing, preview at the right DPI RIP before output. For Mimaki or Roland, this avoids blurry edges. RIP preview saves costly errors.
Adjust in RIP scaling for large format. Beginners in t-shirt printing often miss this. Test on scrap media to confirm.
Mistake #3: Using Broad ICC Profiles
Broad ICC profiles lead to dull colors. Stick to printer-specific profiles in your RIP color profiles. Download matches for your Canon or HP from the maker.
ICC profiles RIP tools like Caldera handle this well. Avoid generic ones for sublimation or DTG. Custom profiles boost vibrancy.
Load them in your RIP interface during job setup. For wide format RIP, this step is key. Newbies gain pro results fast.
Mistake #4: Overlapping Objects
Overlapping objects cause white gaps in prints. Enable trap or overprint in RIP software. This merges edges smoothly.
In printing workflow software, find these in advanced settings. Great for vinyl printing with fine text. RIP trap prevents misregistration.
Test on step and repeat jobs. Best beginner RIP options simplify this. Avoid manual fixes in PDF or EPS files.
Mistake #5: No Ink Limits
Without ink limits, heads clog from excess. Set 120-140% total ink in your RIP ink limits. Monitor per channel too.
Affordable RIP software like UniRIP lets you tweak this easily. Vital for DTG printing or textiles. Prevents drying issues.
Combine with RIP nesting for efficiency. Beginners in inkjet printing fix banding this way. Check after every profile update.
Frequently Asked Questions
What is the best RIP software for beginners in printing?
The best RIP software for beginners printing is often considered user-friendly options like AcroRIP or ONYX RIP Pipeline Starter, which offer intuitive interfaces, simple setup wizards, and essential features for processing print files without overwhelming complexity.
Why do beginners need RIP software for printing?
Best RIP software for beginners printing is essential because it processes complex files like PDFs or images into printer-ready formats, handles color management, tiling, and RIPping tasks that standard drivers can’t, ensuring high-quality prints on vinyl, textiles, or other media.
What are the key features to look for in the best RIP software for beginners printing?
When choosing the best RIP software for beginners printing, prioritize easy installation, drag-and-drop workflows, basic color profiling, preview tools, and free trials. Software like CADlink Digital Factory also excels with tutorials tailored for new users.
Is there free or affordable best RIP software for beginners printing?
Yes, affordable options for the best RIP software for beginners printing include free versions like Inkcut for vinyl cutters or trial editions of pro tools like Wasatch SoftRIP. These allow beginners to start without high costs while learning core functions.
How do I install and set up the best RIP software for beginners printing?
Installing the best RIP software for beginners printing is straightforward: download from the official site, run the installer, connect your printer via USB/Ethernet, and follow the setup wizard to calibrate colors and test prints-most take under 30 minutes.
Which best RIP software for beginners printing works with common printers like Epson or Roland?
Top picks for the best RIP software for beginners printing compatible with Epson, Roland, or Mimaki include RasterLink or AcroRIP, which provide plug-and-play support, optimized profiles for these brands, and beginner guides for seamless wide-format printing.