
RIP Software
Best RIP Software for Beginners Printing
Mar
Struggling with faded colors or misaligned prints? RIP software transforms beginner printing from frustrating trial-and-error into professional results.
Discover why novices need it to conquer common challenges like color management, plus our top 5 picks-including Onyx RIP Pipeline, EFI Fiery Pro, and Wasatch SoftRIP. Explore free vs. paid options, easy setup guides, and starter tips to unlock flawless output today.
What is RIP Software?

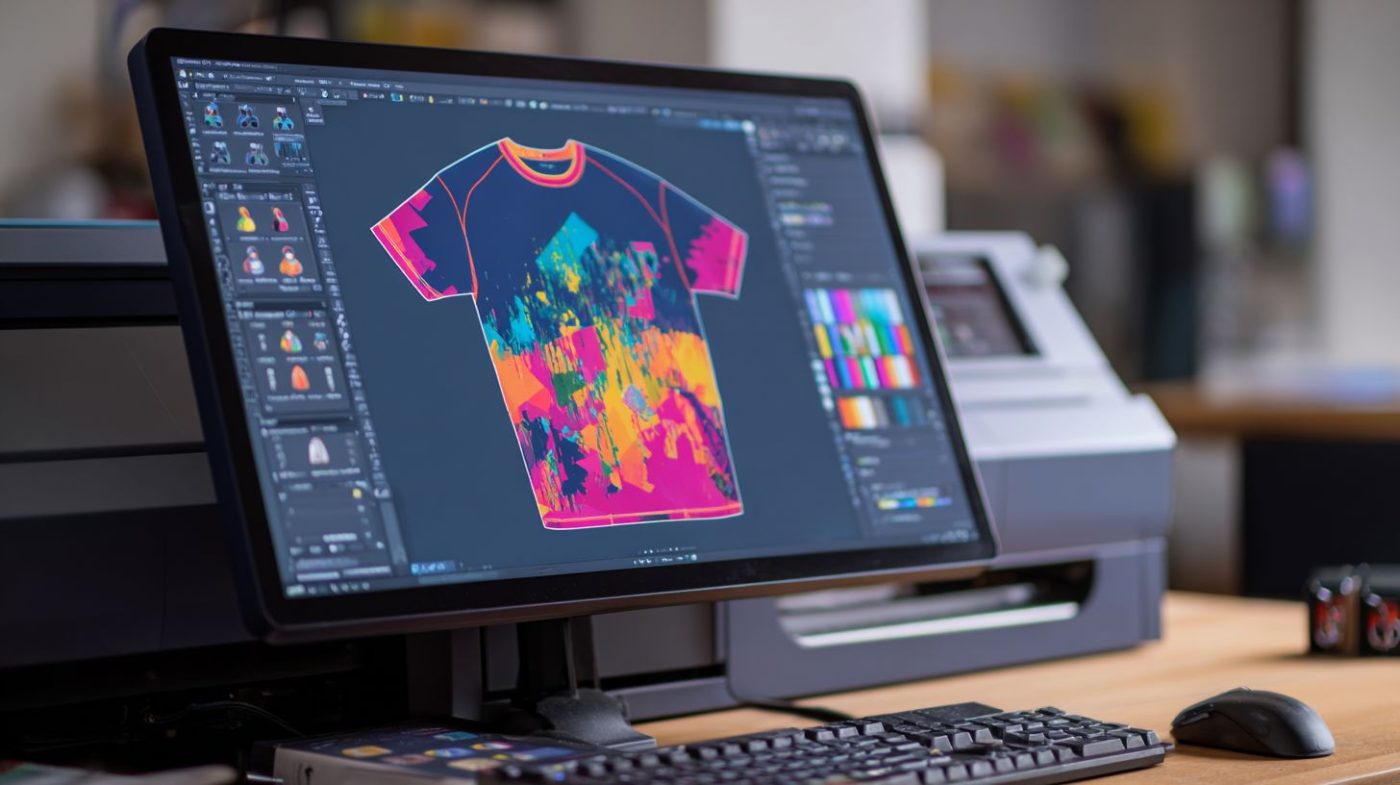
RIP (Raster Image Processor) software converts vector graphics and PDFs into printer-ready raster images. It is essential for DTG, DTF, vinyl, and large format printing where standard printer drivers fail. This process happens through the RIP pipeline, which includes rendering, screening, and output stages.
The software performs three core functions. First, it handles color conversion using ICC profiles to shift from RGB to CMYK. Second, it applies halftone screening with FM or AM patterns for sharp prints. Third, it manages the print queue to organize jobs efficiently.
Here is a simple diagram of the RIP workflow:
| File Input | RIP Processing | Printer Output |
|---|---|---|
| PDF, EPS, AI files | Color management, screening, rasterization | Ready bitmap for DTG, DTF, vinyl printers |
Professional print shops rely on RIP software for consistent results. Beginners benefit from user-friendly RIP options like AcroRIP or SAi FlexiRIP. These tools support Epson, Roland, and Mimaki printers with easy setup guides.
For beginner RIP software, focus on features like RIP preview and job management. They help with color profiles, nesting, and contour cutting. This ensures high-quality output without a steep learning curve.
Why Beginners Need RIP Software
Standard printer drivers produce washed-out colors and banding on DTG/Epson printers, but RIP software like AcroRIP delivers professional results with proper color separation and ink limits. Beginners often struggle with inconsistent prints that waste time and materials. Raster image processor tools fix these issues by managing colors and media precisely.
Without beginner RIP software, prints show dull tones and poor gradients on garments or vinyl. RIP handles white ink layering and halftones that drivers ignore. This leads to sharp, vibrant output on DTG, DTF, or sublimation setups.
Printing RIP simplifies workflows for home users or small shops. It supports Epson L1800, Roland VersaSTUDIO, and more with ICC profiles. Experts recommend starting with user-friendly RIP to avoid trial-and-error setups.
Affordable RIP for beginners includes trial versions for testing. Features like job queuing and previews build confidence. Proper RIP color management ensures shirts match designs accurately from the start.
Common Printing Challenges
Beginners using consumer drivers face muddy colors on DTG prints because they ignore white ink layering and channel ordering. Standard Epson L1800 drivers fail to separate layers properly. This results in invisible white under dark fabrics.
Here are five key problems solved by DTG RIP and other printing software:
- White ink invisible under colors, fixed by RIP white-under layer generation.
- Banding on gradients, resolved with RIP halftone patterns for smooth blends.
- Fabric bleed, controlled by RIP ink limits set to 120-140% for crisp edges.
- Vinyl weeding lines missing, added via RIP cut contour tools for precise weeding.
- Sublimation color shifts, corrected with RIP ICC profiles for accurate hues.
Consider a shirt with skin tones printing orange without RIP color correction. Easy RIP software applies profiles to match true flesh colors. This saves shirts and builds reliable results.
Beginner-friendly RIP like ONYX RIP or SAi FlexiRIP tackles these with simple setups. Check RIP tutorials for ink limits and media settings. Proper RIP workflow prevents most printing issues upfront.
Key Features for Beginners
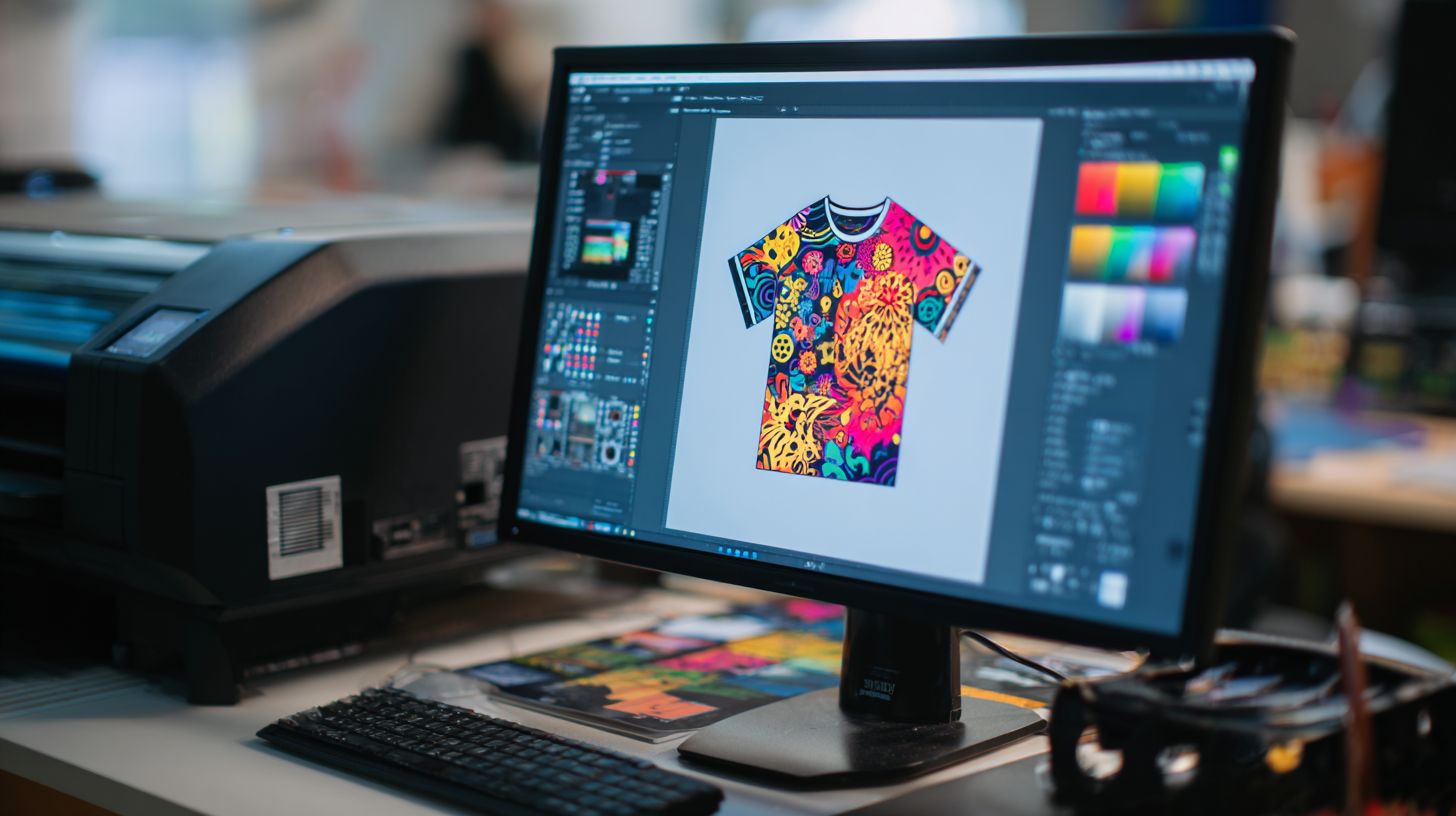
Beginner RIP software prioritizes visual preview, one-click color matching, and drag-and-drop workflows over advanced scripting. These tools help new users achieve professional prints without deep technical knowledge. They focus on preventing costly print mistakes through intuitive interfaces.
Visual previews show exact output before ink hits the media. This lets beginners spot issues like color shifts or misalignment early. Drag-and-drop setups simplify loading designs into the RIP queue.
One-click options handle color management and media profiles automatically. Beginners gain confidence with DTG RIP, DTF RIP, or sublimation RIP tools that support Epson, Roland, or Mimaki printers. These features reduce the learning curve for home RIP software or small business setups.
Experts recommend starting with user-friendly RIP that includes tutorials and RIP setup guides. Common workflows cover RIP nesting, contour cut, and white ink layering. This approach delivers reliable results for T-shirt printing or stickers right away.
Easy Color Management
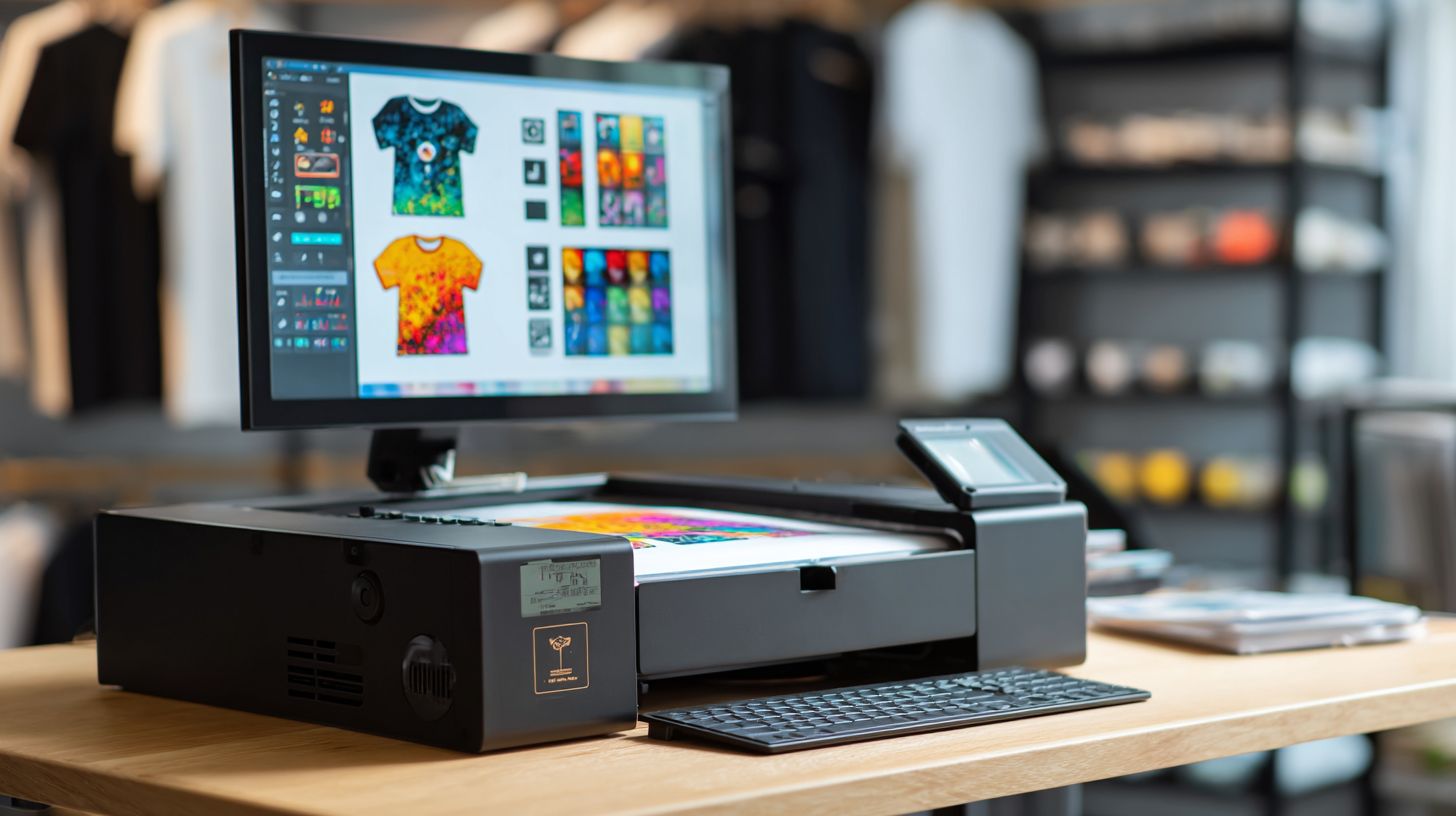
RIP software auto-loads ICC profiles for your specific printer, ink, and media combo, converting RGB designs to accurate CMYK+White output. This simplifies color management for beginners using DTG RIP or vinyl RIP. No manual tweaks needed at first.
The workflow starts by loading a printer ICC like l1800-g4.icc for Epson DTG. Next, assign a media profile such as cotton-dark. A visual preview then displays true colors before printing begins.
- Load the printer ICC profile from your RIP installation.
- Assign the correct media settings for fabric or film.
- Review the RIP preview for accurate flesh tones or vibrant graphics.
- Apply one-click corrections for issues like oversaturation.
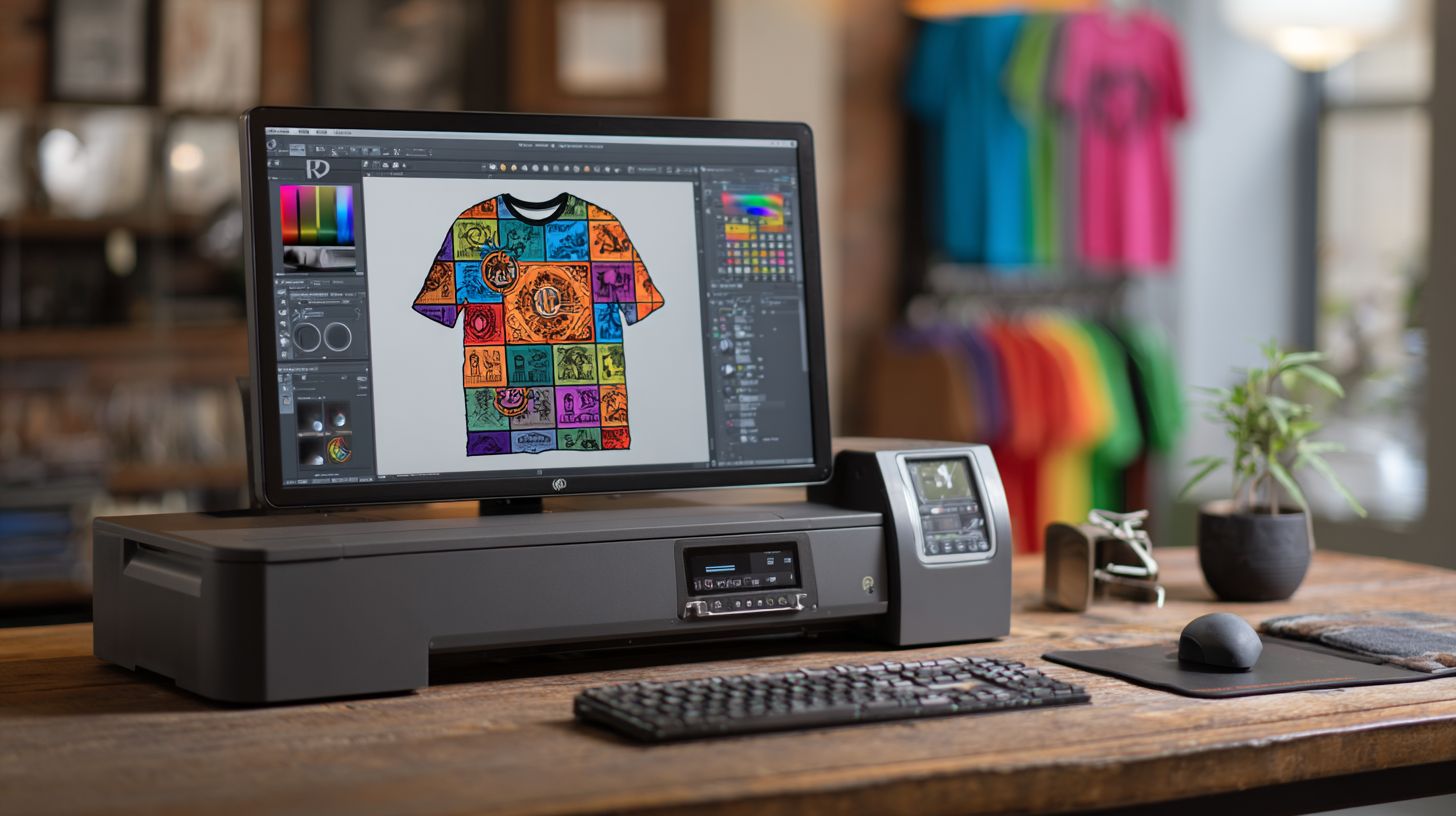
Screenshot examples often show before/after color matching on skin tones, turning dull prints vibrant. This prevents waste in direct to garment RIP jobs. Beginner RIP software like AcroRIP or trial versions make these steps straightforward for garment printing RIP.
Top 5 RIP Software Recommendations
These 5 RIP packages cover budgets from free trials to professional, ranked by beginner-friendliness and DTG/vinyl performance. Selection criteria include Windows compatibility, DTG support, learning curve under 30 minutes, and active support forums. They prioritize visual previews and printer presets for smooth RIP workflow.
Beginners benefit from user-friendly RIP tools with Epson RIP and Roland RIP drivers. These options handle DTG RIP, DTF RIP, and vinyl RIP tasks efficiently. Look for RIP preview features to check jobs before printing.
RIP color management and ICC profiles ensure accurate output on printers like Mimaki or HP. Active RIP forums offer troubleshooting for common RIP errors. Start with trial versions to test RIP compatibility with your setup.
For small businesses, these best RIP software options support batch processing and nesting. They work well for garment printing RIP and large format needs. Choose based on your printer model, such as RIP for Epson L1800 or Roland VersaSTUDIO.
1. Onyx RIP Pipeline
Onyx RIP Pipeline ($1995 license) dominates professional print shops with unmatched color accuracy and Epson/Roland presets. Price: $1995 perpetual + $495/year HotFolder. Best for: DTG shops printing 100+ shirts/week.
Key features include 64-bit processing, unlimited queue, and Pantone matching. It offers 500+ ICC profiles for precise RIP color profiles. Use visual previews for RIP job management.
Pros: Industry leader in stability and RIP speed. Cons: Steep learning curve despite RIP tutorials. A local shop tripled output using Onyx tiling for 24-shirt runs.
This professional RIP excels in DTG RIP with white ink and halftone controls. Set up printer presets for quick RIP installation. Forums provide RIP troubleshooting for high-volume workflows.
2. EFI Fiery Pro
EFI Fiery Pro 2023 ($2995/server) includes built-in inkjet drivers for Epson/Roland, perfect for shops upgrading from AcroRIP. Price: $2995 + $800/year updates. Best for: Mixed DTG/UV shops.
Key features: Fiery XF color engine, hotfolder automation, web-based job approval. It supports RIP nesting and contour cut. Mobile preview aids beginner RIP software users.
Pros: Enterprise stability with excellent RIP queue handling. Cons: Windows-only for full features. A print shop reduced reprints with Fiery ink limits.
Ideal for UV RIP and latex printing, this tool offers RIP automation. Adjust media settings easily for various substrates. Customer service helps with RIP setup guide.
3. Wasatch SoftRIP
Wasatch SoftRIP ($795-$1995) balances pro features with beginner interface, ideal for DTG startups and vinyl shops. Price: $795 (1 printer) to $1995 (5 printers). Best for: 5-50 shirts/day shops.
Key features: Auto-nesting saves media, white ink simulation, cut contour. It includes RIP cutting and grayscale options. 30-day trial eases RIP learning curve.
Pros: Excellent support and active RIP community. Cons: Mac version limited. Users report ink savings via density controls.
This affordable RIP supports PDF, EPS, and AI file formats. Configure for RIP for Roland VersaSTUDIO or Sawgrass. Videos and manuals aid RIP training for hobbyists.
Free vs Paid Options
Free trials like the AcroRIP 30-day option let beginners test RIP benefits, but paid versions ($89-$299) unlock unlimited printers and support.
Beginners often start with free RIP software to learn basics like color management and nesting without upfront costs. These tools handle simple jobs such as DTG RIP for t-shirts or vinyl RIP for stickers. Paid options add reliability for daily use.
Free versions suit hobbyists printing a few items weekly, like custom mugs with sublimation RIP. They limit printers or profiles, causing issues with Epson RIP or Roland RIP setups. Paid software offers ICC profiles and queue management for smoother workflows.
| Software | Price | Printers | Color Profiles | Support |
|---|---|---|---|---|
| AcroRIP | Free trial/$89 | 1-unlimited | 50+ | |
| SAi FlexiRIP | $49/mo | Unlimited | 200+ | Phone |
| ONYX 12 | $299 | 2 | 300+ | Premium |
Free tools work well for <20 prints/week testing, letting you practice RIP workflow on low-end PCs. Paid versions become essential for customer orders with features like contour cut and white ink control. A hybrid approach, starting with AcroRIP trial then moving to Wasatch, builds skills affordably.
Why Free RIP Software Fits Beginners
Free RIP software removes barriers for newcomers exploring printing RIP on printers like Epson or Brother. Tools like AcroRIP trials teach RIP installation and basic color correction without commitment. They support common formats such as PDF and EPS for quick tests.
Use free options to set up RIP preview and job queuing on your home setup. Practice RIP nesting for stickers or DTF RIP layers on garments. This hands-on time reveals if you need advanced halftone or grayscale controls.
Limitations appear with multiple printers or complex jobs like large format RIP banners. Free versions may lack RIP stability for batch processing. Still, they offer a safe entry for hobbyist RIP users learning the ropes.
Experts recommend free trials for RIP tutorials and setup guides. Test compatibility with your Windows RIP or Mac system before investing. This approach ensures beginner-friendly RIP matches your small business needs.
Benefits of Paid RIP Tools
Paid RIP software like SAi FlexiRIP provides unlimited printers and phone support for growing print shops. It handles eco-solvent RIP or UV printing with precise ink limits and media settings. Beginners gain confidence with RIP color profiles exceeding 200 options.
Features such as RIP cutting, rotation, and mirroring streamline production for T-shirt printing RIP. Paid versions reduce RIP crashes through updates and optimization for high RAM usage. They support direct to garment RIP with white ink and overprint trapping.
Onyx RIP excels in premium support and high-resolution output for posters or banners. Use it for RIP queue management during busy weeks. These tools offer RIP training videos and manuals absent in free editions.
For entry-level RIP users, paid options justify costs with faster RIP speed and troubleshooting help. They integrate RIP drivers for Mimaki or Mutoh printers seamlessly. This reliability supports scaling from hobby to professional.
Installation and Setup Guide
Complete Epson L1800 DTG RIP setup takes 45 minutes: download, install drivers, load ICC profiles, test print. This RIP installation process ensures beginner RIP software like AcroRIP works smoothly with your printer. Follow these steps for a user-friendly RIP experience.
Start by visiting the official site at AcroRIP.com to download the latest RIP software. Choose the version compatible with Windows RIP systems and your Epson L1800. Verify the file integrity before proceeding to avoid RIP installation issues.
The full setup includes uninstalling standard drivers, installing as administrator, and connecting hardware. Load the ICC profiles like DTG-L1800.icc for accurate RIP color management. End with a test print to confirm RIP compatibility.
Expect the entire RIP setup guide to take about 45 minutes if you avoid common mistakes. Watch video tutorials with timestamps: driver uninstall at 2:15, ICC loading at 8:45, test pattern at 22:30. This prepares your printing RIP for DTG, DTF, or sublimation workflows.
Step-by-Step Installation Instructions
Follow these numbered steps for AcroRIP RIP installation on your system. This beginner-friendly RIP process minimizes errors in DTG RIP setup.
- Download the installer from AcroRIP.com. Select the free RIP software trial or licensed version for Epson RIP support.
- Uninstall standard printer drivers via Device Manager. This prevents RIP crashes from driver conflicts in printing software.
- Run the installer as administrator. Accept terms and choose custom setup for RIP drivers and ICC profiles.
- Connect your printer via USB or Ethernet. Power on and let Windows detect the new RIP-compatible hardware.
- Load the DTG-L1800.icc profile in AcroRIP settings. Adjust RIP color profiles for white ink and grayscale options.
- Print a test pattern from the RIP queue. Check for RIP output quality and color accuracy.
These steps ensure RIP workflow stability for garment printing RIP. Restart your PC after step 6 to finalize printer RIP integration.
Common Mistakes and Troubleshooting
Skipping driver uninstall often causes RIP crashes during printing. Always remove old drivers first for smooth RIP compatibility.
Using the wrong USB port leads to connection failures in inkjet RIP setups. Plug into a direct rear port, avoiding hubs.
- Verify administrator rights to prevent RIP installation errors.
- Match ICC profiles to your ink type for RIP color correction.
- Update firmware if test prints show RIP printing issues.
For RIP troubleshooting, check logs in the software. Common fixes include restarting services or reinstalling RIP drivers for direct to garment RIP.
Post-Setup Tips for Beginners
After installation, explore RIP preview and job management features. Set up RIP queue for batch processing in T-shirt printing.
Configure media settings like thickness for DTF films. Test RIP nesting and contour cut for vinyl or stickers.
Join RIP forums for community tips on RIP learning curve. Use the built-in manual for RIP tutorial on halftone and resolution.
Getting Started Tips
Start with 1-shirt test prints using RIP preview. This approach saves $15 per shirt in ink and media waste, a common issue for beginners in printing RIP workflows. It helps catch errors before full production runs.
RIP software for beginners simplifies the learning curve with built-in tools like preview and color management. New users often overlook these features in DTG RIP or DTF RIP setups. Practice on simple designs first, such as a single-color logo on cotton.
Follow these 7 essential tips to master beginner RIP software. They cover RIP preview, ink settings, and community resources for garment printing RIP. Use them to build confidence in your RIP workflow.
- Always use RIP preview 100% of the time. It reveals issues like color shifts or nesting problems before printing.
- Set ink limits to 120-140% maximum. This prevents ink saturation on fabrics in DTG RIP or sublimation RIP.
- Print white underbase always for DTG. It ensures vibrant colors on dark garments with RIP white ink settings.
- Calibrate weekly using RIP test patterns. Check ICC profiles and color profiles for consistent output.
- Join RIP Facebook groups with thousands of members. Ask about RIP troubleshooting and RIP compatibility.
- Watch YouTube channel ‘DTG Master’ for RIP tutorials. Tutorials cover RIP setup guide and RIP installation.
- Keep Windows updated. Old builds cause RIP crashes in Windows RIP environments.
Download the Getting Started Checklist for quick reference. It includes steps for RIP queue management and printer RIP drivers. Track your progress to avoid RIP printing issues.
Frequently Asked Questions
What is the best RIP software for beginners in printing?
The best RIP software for beginners printing is often recommended as AcroRIP or ONYX RIP Pipeline Starter, due to their user-friendly interfaces, affordable pricing, and straightforward setup for tasks like vinyl cutting, DTG printing, and large-format outputs. These options minimize the learning curve while delivering professional raster image processing results.
Why do beginners need RIP software for printing?
For beginners printing, RIP software is essential because it processes complex files (like PDFs or layered designs) into printer-ready raster images, handling color management, tiling, and nesting accurately-preventing common issues like color shifts or misalignment that standard print drivers can’t manage effectively.
How to choose the best RIP software for beginners printing?
When selecting the best RIP software for beginners printing, prioritize ease of use, compatibility with your printer model (e.g., Epson or Roland), cost under $500, built-in tutorials, and free trials. Test features like color profiling and job queuing to ensure it matches your workflow without overwhelming technical demands.
Is there a free best RIP software for beginners printing?
While fully featured commercial options dominate, free alternatives like Inkcut or basic versions of UniRIP serve as the best RIP software for beginners printing on a budget. They offer core functions for hobbyists, though paid upgrades unlock advanced tools for professional-quality prints.
What are the key features of the best RIP software for beginners printing?
The best RIP software for beginners printing includes intuitive drag-and-drop interfaces, automatic color correction, preview modes, multi-printer support, and simple licensing. Standouts like CADlink’s PrintFLY provide these without requiring coding knowledge, making high-quality outputs accessible right away.
Can beginners install and use RIP software for printing easily?
Yes, the best RIP software for beginners printing is designed for quick installation-often under 30 minutes-with step-by-step wizards, video guides, and community forums. Start with a trial version to practice on sample files, ensuring smooth integration with tools like CorelDRAW or Adobe Illustrator.