
RIP Software
Best RIP Software for Beginners Printing

Mar
Struggling with faded colors or misaligned prints? RIP software transforms beginner printing from frustrating trial-and-error into professional results.
Essential for tackling common challenges like color accuracy and workflow efficiency, it give the power tos novices with user-friendly interfaces and intuitive tools.
Discover why ONYX RIP Pipeline, EFI Fiery Pro, and Wasatch SoftRIP top our list, plus free vs. paid options and a step-by-step guide to launch your success.
What is RIP Software?
RIP (raster image processor) software converts vector files like PDFs and EPS into printer-ready raster images, handling color conversion from RGB to CMYK while optimizing for specific printers like Epson or Roland.
This printing software processes print files through halftoning, color management, and resolution optimization. It ensures sharp output at 1200-1440 DPI for inkjet printing. Users rely on it for wide format printing, vinyl printing, and DTG RIP tasks.
The 3-stage RIP process starts with interpretation, where PostScript or PDF parsing occurs. Next comes rasterization, converting vectors to bitmaps. Finally, output generates printer-specific data with ICC profiles for color accuracy.
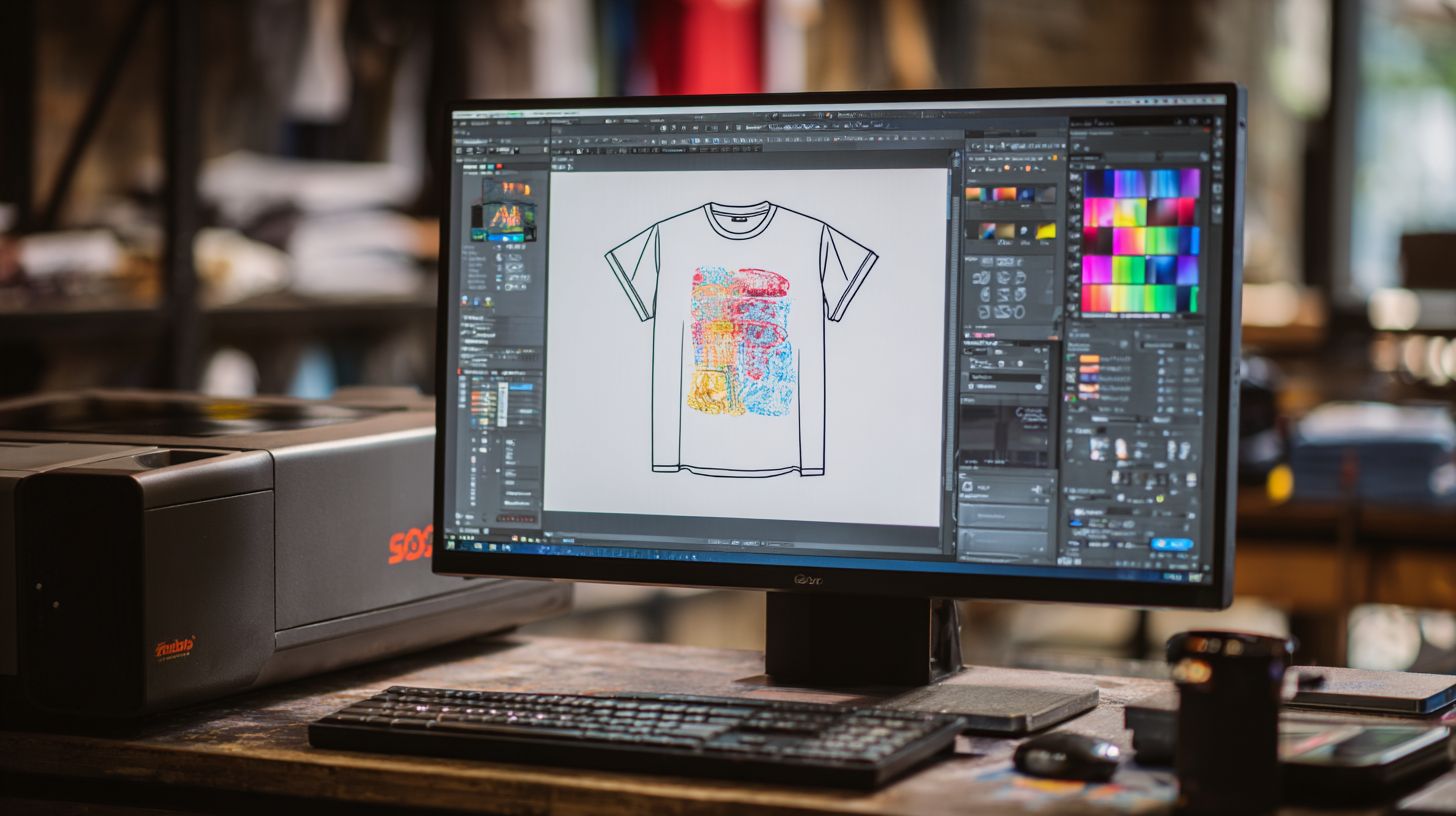
Imagine a simple workflow diagram: a file icon flows into the RIP software box, then arrows to a printer icon. This visual shows how print RIP bridges design files and hardware. It aligns with standards like ISO 12647-2 for consistent CMYK printing.
Why Beginners Need RIP Software
Beginners using just Adobe Illustrator or CorelDRAW often face washed-out colors, banding, and incorrect DPI settings that ruin prints. RIP software steps in to fix these issues automatically. It acts as a raster image processor tailored for printing workflows.
Automatic CMYK conversion prevents color shifts by converting RGB files properly. Without it, designs print with unexpected hues. RIP tools ensure color management from the start.
Printer-specific profiles eliminate trial-and-error setups. They match your hardware like Epson or Roland printers perfectly. Hot folder automation removes manual file handling for smoother print production.
Preflight checks catch errors before printing, saving media and ink. Beginners gain confidence with features like soft proofing and job management. User-friendly RIP options make large format printing accessible for vinyl, DTG, or UV jobs.
Common Printing Challenges
New printers struggle with RGB/CMYK mismatches and incorrect DPI settings that waste expensive vinyl media. These lead to muddy outputs and inconsistent results. RIP for printing solves them with smart automation.
Here are five specific problems and how beginner RIP addresses them:
- RGB files print muddy: RIP auto-converts to CMYK using ICC profiles for accurate color profiles.
- Banding from poor halftoning: RIP uses stochastic screening for smooth gradients.
- Wasted media from wrong DPI: RIP optimizes resolution settings from 150 to 1440 DPI automatically.
- Printer choking on complex vectors: RIP simplifies them during vector to raster processing.
- Inconsistent colors across printheads: RIP linearizes for even print quality.
Consider a before-and-after example: a logo in RGB might shift blue to purple without RIP, but post-RIP, colors match the screen perfectly. Tools like hot folders and preflight checks prevent these errors upfront.
| Without RIP | With RIP |
|---|---|
| Muddy colors, 30-50% deviation | Accurate CMYK printing, minimal shift |
| Banding in skies | Smooth FM screening |
| Media waste on low DPI | Optimized DPI printing |
Key Features for Beginners
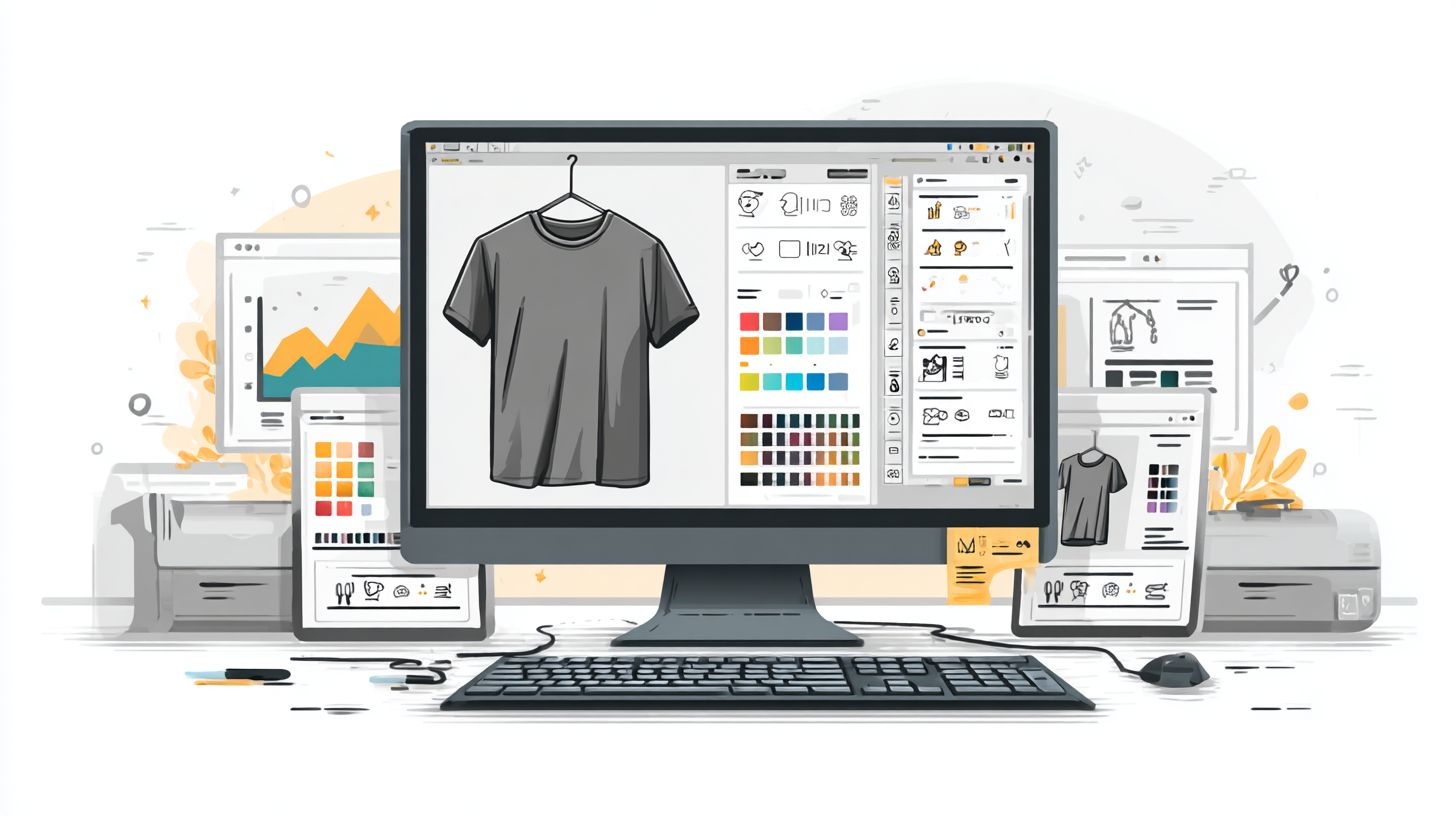
Beginner RIP software should prioritize intuitive drag-and-drop interfaces and one-click color profiling over advanced nesting or tiling. These tools bridge technical knowledge gaps in printing workflows. They make large format printing accessible for vinyl printing, DTG RIP, or sublimation setups.
Visual job preview lets users see the final output before printing. This feature shows how artwork renders on specific media. Beginners avoid wasting ink on trial runs with this print preview capability.
Auto color management with ICC profiles handles RGB to CMYK conversion automatically. It applies printer-specific profiles for Epson RIP or Roland RIP devices. No need for manual adjustments in color management.
Hot folder automation processes files dropped into folders without user input. This supports batch processing for print production. Simple media setup wizards guide users through DPI printing and resolution settings step by step.
Easy Color Management
One-click ICC profile loading converts RGB artwork to printer-specific CMYK, achieving Delta E < 2 color accuracy without color theory knowledge. This feature simplifies color profiles for beginners in RIP for printing. It ensures consistent results across inkjet RIP or UV printing jobs.
Automatic RGBCMYK conversion uses profiles for printers like Epson SureColor or Roland TrueVIS. Black generation settings offer options like Rich Black versus Composite Black. Users select these without deep expertise.
Gamut mapping handles spot colors effectively. For example, PANTONE 185C converts to the nearest CMYK match smoothly. G7 certification support aligns with printing standards for better output quality.
Experts recommend starting with perceptual rendering or relative colorimetric intents. These settings work well for most CMYK printing needs in beginner RIP software. Soft proofing previews confirm accuracy before production.
User-Friendly Interface
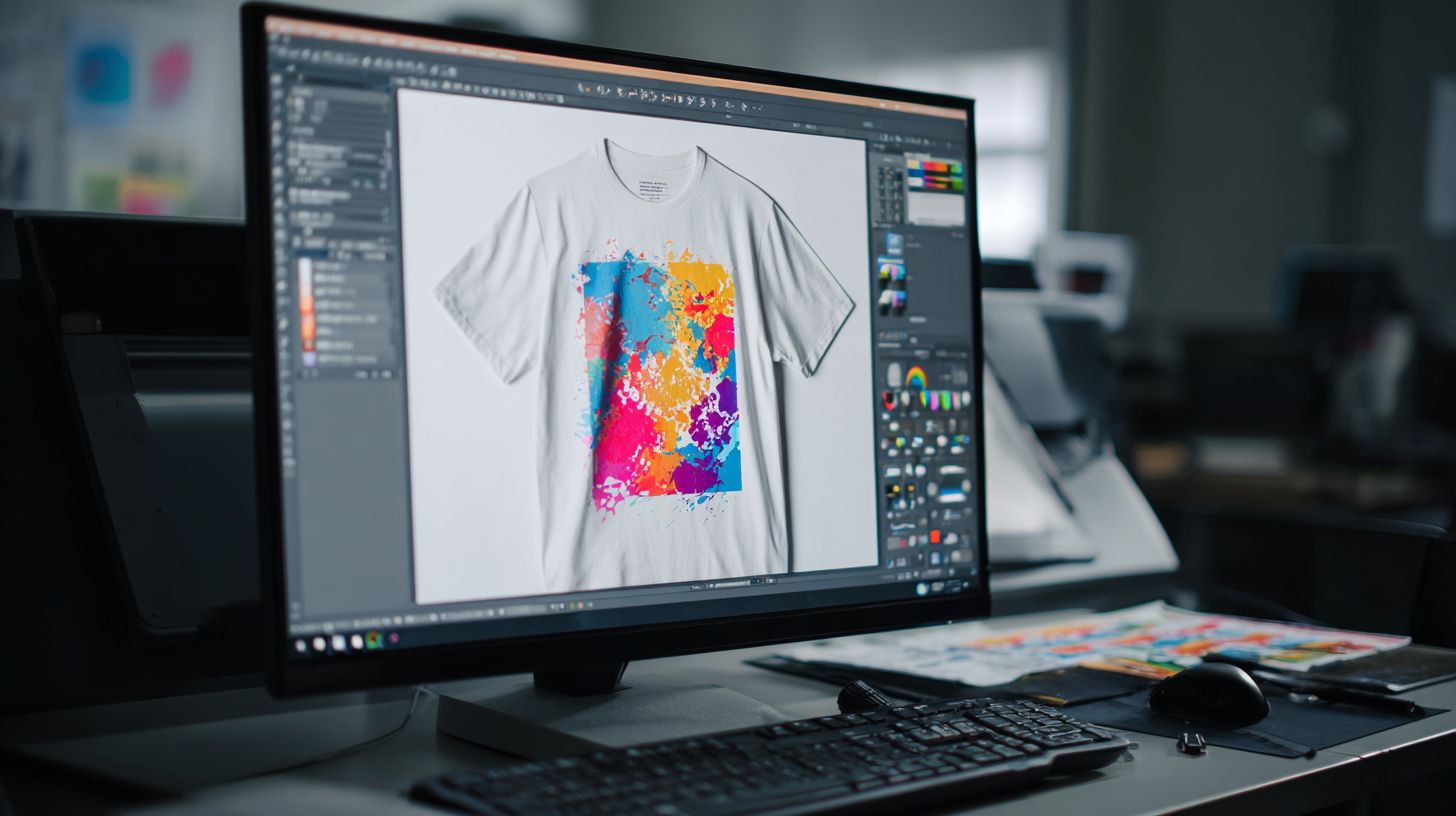
Modern RIPs feature drag-and-drop hot folders and visual thumbnails that let beginners process files without reading manuals. This contrasts with complex PostScript RIP systems requiring technical skills. User-friendly RIP designs speed up the learning curve for print shops.
Key UI elements include a thumbnail job queue for easy file management. Drag-and-drop file import supports PDF RIP, EPS RIP, and more formats. A prominent one-click ‘Print’ button starts jobs instantly.
- Visual color preview shows real-time adjustments.
- Progress bars with ETA track RIP queue status.
- RIP dashboard like ONYX 21’s offers a clean layout with job thumbnails, color previews, and hot folder icons on a single screen.
These elements make easy RIP software ideal for home printing or small shops. Beginners handle print and cut workflows without frustration. Training videos and intuitive layouts reduce the need for RIP tutorials.
Top RIP Software Recommendations
For beginners, ONYX RIP Pipeline offers the best balance of ease and power at $1,995 while Wasatch SoftRIP provides vinyl-specific tools for $995. These top RIP programs stand out for their user-friendly interfaces and essential features like hot folders and color management. EFI Fiery ProServer rounds out the list at $2,500+ with advanced color accuracy for commercial work.
Each option supports large format printing on printers from Epson, Roland, and Mimaki. Beginners appreciate their print and cut capabilities, media profiles, and job queuing. Start with these beginner RIP choices to streamline your printing workflow.
ONYX handles unlimited file sizes with GPU acceleration on Windows 10/11. Wasatch excels in vinyl printing and DTG with cut contours at a budget price. EFI Fiery brings G7-certified color profiles for consistent output.
Choose based on your needs: affordable RIP for vinyl shops, powerful tools for production, or color-focused software for pros. All offer trials to test RIP compatibility before buying.
1. ONYX RIP Pipeline
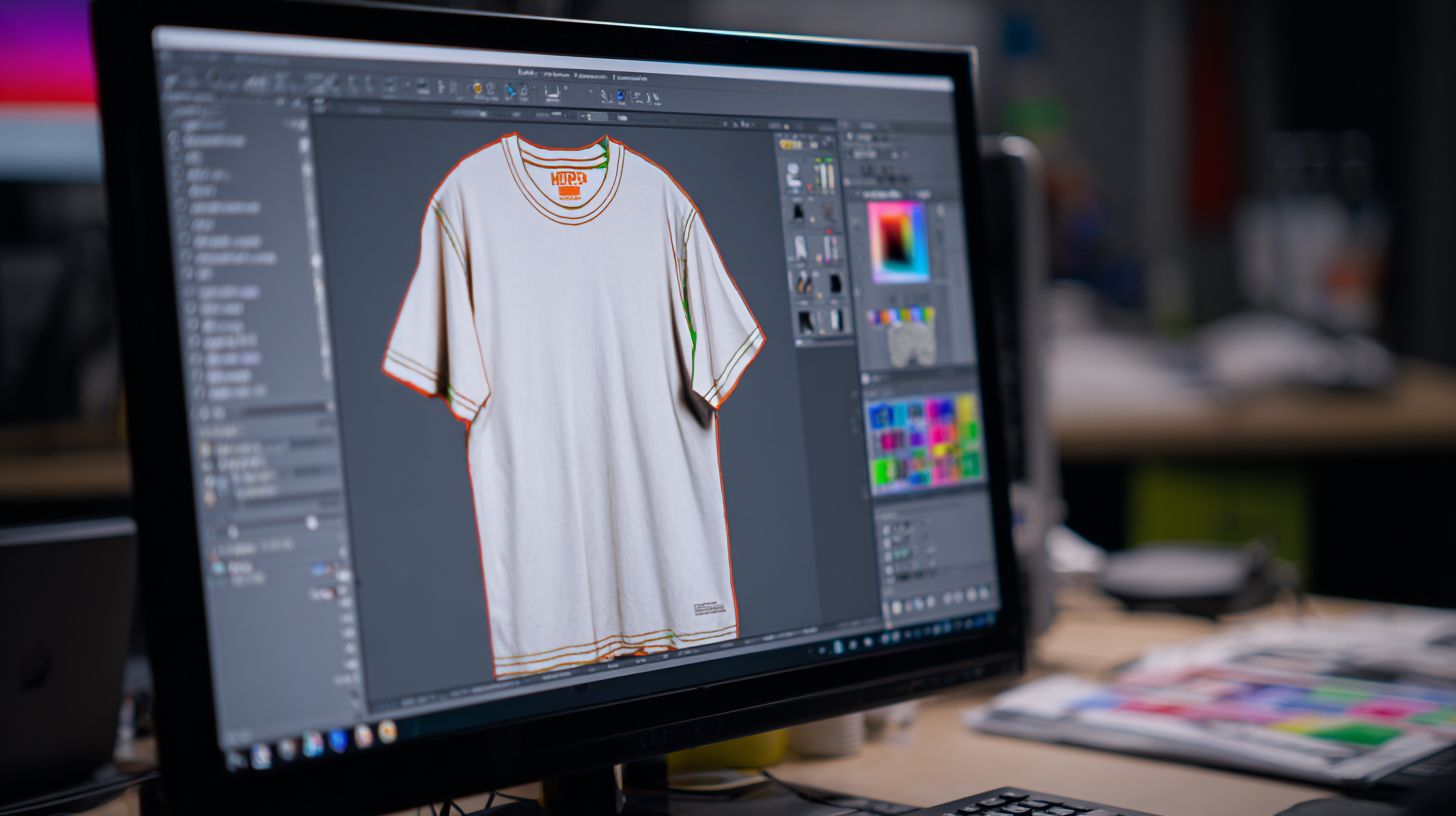
ONYX RIP Pipeline ($1,995 for 4 printers) dominates large format market share with its legendary hot folder system and 1440 DPI optimization. This user-friendly RIP processes PDF, EPS, and PostScript files effortlessly. Beginners find its drag-and-drop interface ideal for printing setup.
Key features include GPU acceleration, unlimited file sizes, and multi-core processing for fast RIP performance. It supports Windows 10/11 with excellent printer compatibility for Epson and Roland models. Hot folders automate workflows, letting you drop files for instant queuing.
Best for vinyl sign shops, it offers pros like industry-standard reliability and top customer support through training videos and forums. Cons include the higher cost compared to entry-level options. A sign shop used hot folders to boost daily jobs without added staff.
- Hot folders for automated job intake
- GPU acceleration speeds up high-res rips
- Custom ICC profiles for media matching
- Job management with preview and preflight
2. EFI Fiery ProServer
EFI Fiery ProServer ($2,500+) excels in color-critical production with G7 certification and automatic ink limiting for cost savings. This professional RIP uses the Fiery XF color engine for spot color matching and nesting. It supports Epson, Roland, and Mimaki printers seamlessly.
Key features cover CMYK printing, RGB to CMYK conversion, and linearization to optimize ink use. Beginners benefit from soft proofing and gamut mapping for accurate previews. Its nesting software maximizes media efficiency in commercial runs.
Best for commercial print shops, pros include unmatched color accuracy and stability. The learning curve feels steep at first, but tutorials help. One user cut ink waste with the linearization feature during high-volume jobs.
- Spot color matching for PANTONE fidelity
- Nesting to reduce material costs
- Automatic ink limiting and black generation
- Preflight checks for error-free rips
3. Wasatch SoftRIP
Wasatch SoftRIP ($995 per printer) is the beginner favorite for vinyl printing with built-in cut contours and faster processing than CorelDRAW RIP. This affordable RIP handles tiling, white ink layering, and batch jobs on Mac or Windows. It’s perfect for DTG RIP and vinyl cutter workflows.
Key features include print and cut tools, media profiles, and queue management for small shops. Supports vector to raster conversion with high DPI settings. Beginners love its intuitive dashboard and drag-and-drop ease.
Best for vinyl and DTG shops, pros are its low price and vinyl optimization. Limited advanced color management tools are a drawback for complex jobs. A DTG shop sped up output with batch processing for t-shirt runs.
- Cut contours for vinyl cutters
- Tiling RIP for banners
- White ink layering for multi-layer prints
- Batch processing for production speed
Free vs Paid Options
Free RIP software like mainstreak and AcroRIP handle basic 720 DPI jobs but crash on 1440 DPI files larger than 500MB unlike paid ONYX. Beginners in printing workflows often start with these tools for vinyl printing or simple DTG RIP tasks. They offer a low-barrier entry to raster image processor basics without upfront costs.
Free RIPs suit hobby printing or small tests, supporting limited printers and resolutions. Mainstreak works with one printer at 720 DPI but crashes often during long sessions. AcroRIP provides a free trial for two printers up to 1080 DPI, though watermarks appear on outputs.
Paid options like ONYX RIP and Wasatch deliver professional stability for large format printing. ONYX costs $1995 for unlimited printers and 1440 DPI with rock-solid performance. Wasatch at $995 supports four printers at 1440 DPI and remains stable for daily use.
| Tool | Price | Printers | DPI Max | Stability |
|---|---|---|---|---|
| mainstreak | Free | 1 printer | 720 DPI | crashes often |
| AcroRIP | Free trial | 2 printers | 1080 DPI | watermark |
| ONYX | $1995 | unlimited | 1440 DPI | rock-solid |
| Wasatch | $995 | 4 printers | 1440 DPI | stable |
Experts recommend starting with 30-day trials of paid user-friendly RIP tools. Upgrade if you handle more than 50 jobs per month for better color management and job management.
Getting Started Guide
Setup takes 45 minutes: Install Add printer Load ICC profile Test print. This beginner guide walks you through launching your RIP software for printing. Follow these steps for a smooth start with user-friendly RIP like Wasatch or ONYX.
Choose a trial RIP version first. These top RIP programs offer free trials to test printing workflow without commitment. Expect the full process to take 45-60 minutes total.
Prepare a dedicated RIP PC with at least 16GB RAM for best performance. RIP tools are CPU intensive, so avoid shared machines. This ensures fast RIP processing and crash-free operation.
Common pitfalls include wrong drivers slowing output. For example, a wrong USB driver causes speed loss. Double-check compatibility for your inkjet RIP or wide format RIP.
Step-by-Step Setup Instructions
- Download Wasatch or ONYX trial (10min). Visit the official site for the trial RIP. Save the installer to your desktop for quick access in RIP installation.
- Install on dedicated PC with 16GB RAM (15min). Run the setup as administrator. Restart if prompted to enable multi-core RIP features.
- Connect printer via USB or Ethernet (5min). Use a high-quality cable for printer compatibility. Power cycle both devices before proceeding.
- Load manufacturer ICC profiles (10min). Import color profiles from your printer maker, like Epson or Roland. This sets up color management for accurate CMYK printing.
- Create test hot folder with 300 DPI PDF (5min). Set up a hot folders queue in the print RIP interface. Drop in a simple vector to raster file for PDF RIP.
- Print 11×17 test pattern checking registration and banding. Watch for print quality issues like misalignment. Adjust resolution settings or DPI printing if needed.
These steps build your printing setup foundation. Use RIP preview and soft proofing at each stage. This RIP tutorial applies to DTG RIP, vinyl printing, or sublimation RIP.
Common Errors and Fixes
Errors derail beginners printing fast. A wrong USB driver causes speed loss, dropping print speed noticeably. Update via device manager for your RIP driver.
ICC profile mismatches lead to poor color accuracy. Verify media profiles match your paper. Reload from the printer’s site for custom profiles.
- No hot folder response: Check file format support like EPS RIP or PostScript RIP.
- Banding in test print: Enable linearization or tweak ink limiting.
- Memory errors on large files: Close other apps on your dedicated RIP PC.
Troubleshoot with RIP documentation or training videos. Join community forums for RIP support. This keeps your easy RIP software running smoothly.
Next Steps After Setup
Test more files like high resolution RIP at 1200 DPI. Experiment with nesting software for efficient print production. Monitor RIP queue for job management.
Explore cut contour for print and cut with vinyl cutters. Add preflight check to catch issues early. This scales your printing business or hobby printing.
Compare RIP performance across trials like AcroRIP or ErgoSoft. Note RIP features like GPU acceleration. Upgrade to a perpetual license once ready.
Frequently Asked Questions
What is the best RIP software for beginners in printing?
The best RIP software for beginners printing is often AcroRIP or ONYX RIP Pipeline Starter, as they offer user-friendly interfaces, simple setup wizards, and essential features like color management and nesting without overwhelming complexity. These tools are ideal for hobbyists or new print shop owners starting with wide-format printers.
Why do beginners need RIP software for printing?
For beginners printing, RIP software is crucial because it processes complex files (like vector graphics or high-res images) into printer-ready data, handling color accuracy, tiling, and media optimization. Without it, standard printer drivers often produce poor results on professional printers, making the best RIP software for beginners printing a must-have for quality output.
How do I choose the best RIP software for beginners printing?
To choose the best RIP software for beginners printing, consider ease of use, compatibility with your printer model (e.g., Epson or Roland), cost (under $500 for starters), and free trials. Look for intuitive dashboards, tutorials, and support-tools like CADlink’s PrintRIP or ChiliRIP stand out for their beginner-friendly designs and quick learning curves.
Is there a free best RIP software for beginners printing?
While fully featured free options are limited, Wasatch SoftRIP offers a trial version, and some printer brands provide basic free RIPs. For the best RIP software for beginners printing, starting with a free trial of AcroRIP is recommended, as it unlocks pro features affordably after evaluation, ensuring you get reliable performance without upfront investment risks.
What are the key features of the best RIP software for beginners printing?
Key features in the best RIP software for beginners printing include one-click color profiling, automatic nesting for material savings, preview modes, and plugin support for apps like Adobe Illustrator. Software like ONYX Advantage excels here, providing these essentials in a simplified interface that grows with your skills.
Can beginners install and use RIP software for printing easily?
Yes, the best RIP software for beginners printing is designed for easy installation-often just download, activate license, and connect your printer via USB/Ethernet. Most include video guides and auto-detection, so even non-tech-savvy users can start printing professionally within an hour.