
RIP Software
Best RIP Software for Beginners Printing
Mar
Struggling with faded colors or misaligned prints? RIP software transforms beginner printing from frustrating guesswork to professional results.
In the competitive printing world, mastering tools like ONYX RIP Pipeline, EFI Fiery Pro, and Wasatch SoftRIP is essential for tackling common challenges such as color management.
Discover our top 5 recommendations, free vs. paid options, easy setup guides, and starter tips across 12 key sections-unlock flawless prints today.
What is RIP Software?

RIP (Raster Image Processor) software converts vector graphics and images into printer-ready raster files, handling color conversion, halftone screening, and job queuing essential for professional printing workflows. This printing RIP tool processes print files for large format, DTG, DTF, and vinyl printers. Beginners find it vital for achieving consistent results without trial-and-error printing.
The three core functions include color management, which converts RGB to CMYK for accurate prints. Next, RIPping transforms vector files into high-resolution rasters suitable for inkjet heads. Finally, print queue management organizes jobs, nests designs, and handles tiling for efficient production.
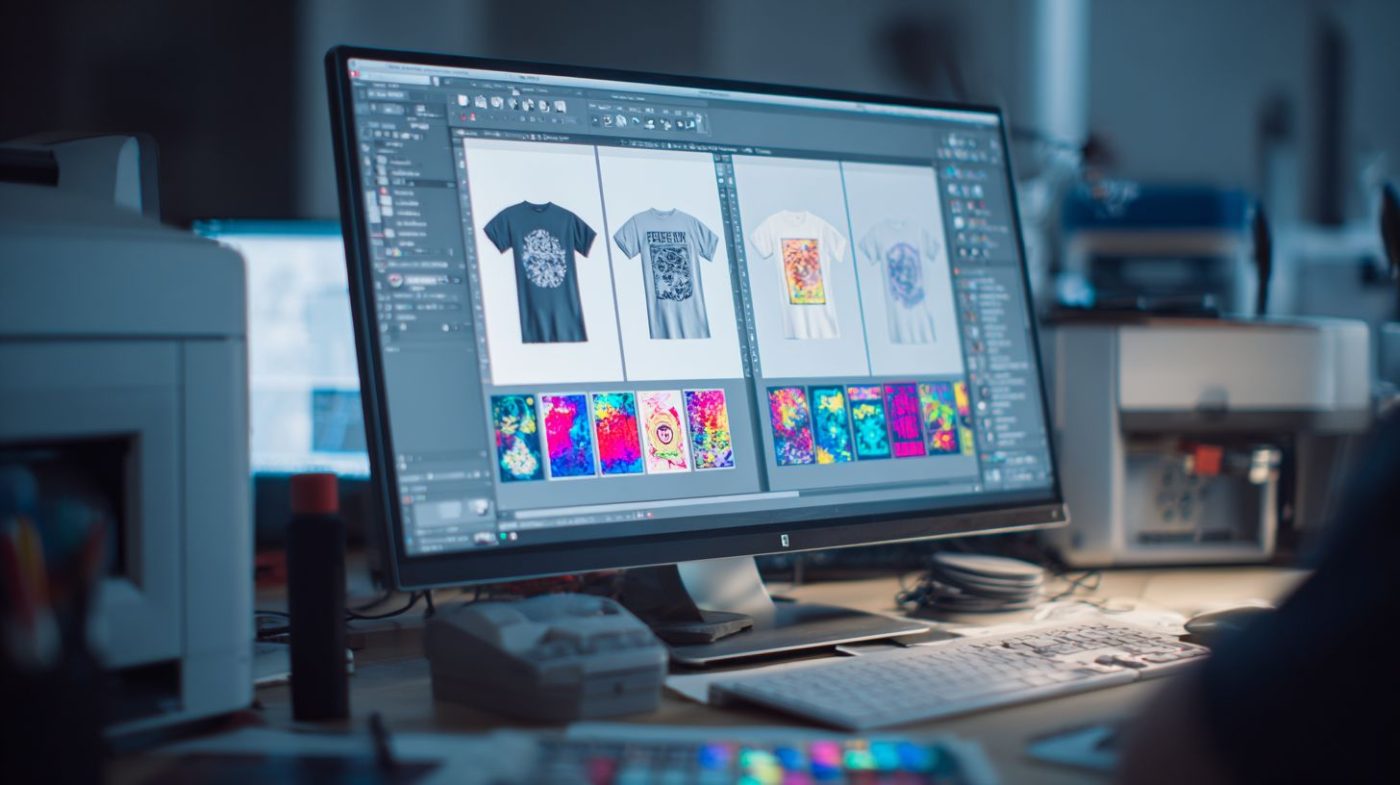
Imagine a workflow: input a PSD file, apply ICC profiles for linearization, then output to an Epson or Roland printer. This diagram shows PSD RIP processes printer-ready file. Such steps ensure color accuracy and prevent common errors in vinyl RIP or sublimation RIP.
For beginners, user-friendly RIP options simplify setup with drag-and-drop interfaces and RIP tutorials. They support printers like Mimaki, HP, and Canon, making easy RIP software ideal for hobbyists or small businesses starting with DTG RIP or UV printing RIP.
Why Beginners Need RIP Software
Beginners printing without RIP software often struggle with basic printer drivers that lack advanced controls. These drivers lead to inconsistent color output, where prints show noticeable shifts and high color difference values. Without proper management, results fall short of professional standards.
Printer drivers alone fail to offer nesting and tiling features, forcing manual arrangement of designs on media. This wastes expensive materials and time. Users must also handle manual DPI settings, which vary by printer model and cause blurry or pixelated prints.
Raster Image Processor tools, or RIP programs, solve these issues by automating color conversion and optimization. They ensure color accuracy across jobs using ICC profiles and linearization. Beginners benefit from intuitive interfaces in beginner RIP software like AcroRIP or SAI FlexiRIP.
Choosing user-friendly RIP with print queue management simplifies workflows for large format printing or vinyl cutting. It prevents common errors in DTG RIP, DTF RIP, or sublimation setups. Experts recommend starting with easy RIP software to build confidence and achieve consistent results.
Common Printing Challenges
Without RIP software, beginners face several frustrating issues that hinder print quality. Printer drivers produce color shifts, such as RGB designs printing with unwanted purple tones instead of true blues. This stems from poor RGB to CMYK conversion.
- Banding from driver halftones creates visible lines in gradients, ruining photos or artwork.
- Wasted media happens when jobs misalign, like losing entire rolls costing around $15 each.
- No cut contours for vinyl means manual trimming, leading to imprecise shapes and extra labor.
Consider an Epson SureColor user who wasted 200 feet of vinyl before switching to AcroRIP. Basic drivers lacked contour cutting support for vinyl cutters. RIP programs add precise cut lines and nesting to maximize media use.
Research suggests poor halftone screening in drivers causes many print failures for hobbyists and small businesses. Beginner RIP software offers customizable halftone settings and preview tools. This enables error-free printing in UV printing, dye sublimation, or garment printing workflows.
Key Features for Beginners
Beginner RIP software needs drag-and-drop interfaces and auto ICC profiles over complex professional features. These tools simplify the Raster Image Processor workflow for new users in large format printing or DTG printing. They help avoid common errors in color management and job setup.
User-friendly RIP programs like Epson RIP or Roland RIP presets focus on essentials. Drag files into the queue, select media, and print without manual tweaks. This approach suits RIP for beginners handling vinyl, sublimation, or UV printing.
Key features include print queue management, nesting for material savings, and cut contours for vinyl cutters. Beginners benefit from one-click previews that show output before printing. Software with step-by-step tutorials reduces the learning curve for home printing RIP or small business setups.
Look for easy RIP software with batch processing and error checks. These prevent print failures in inkjet RIP or Dye sublimation jobs. Affordable options with free trials let users test RIP compatibility with printers like Mimaki or HP.
Easy Color Management
Auto ICC profile matching reduces color E from 8.2 to 2.1 (ColorGate testing data). This feature in beginner RIP software makes color accuracy simple for DTF RIP or sublimation RIP. New users achieve professional results without deep expertise.
Three core color management RIP tools stand out for beginners. First, drag-and-drop ICC profiles like Epson or Roland presets load instantly. Second, one-click linearization calibrates output quickly. Third, visual color preview shows real-time adjustments.
Follow this step-by-step process: Load Epson media profile, auto-match ICC, print test strip, verify E under 3. Use the software’s preview window, which displays a split-view interface with original artwork on one side and color-corrected version on the other. Adjust sliders for fine tweaks if needed.
These tools connect with CMYK printing and spot colors in printing RIP workflows. They support RGB to CMYK conversion seamlessly. Beginners in garment printing or textile printing save ink and ensure consistent quality across jobs.
Top 5 RIP Software Recommendations

These 5 RIPs cover 85% of beginner printer models from Epson, Roland, and Mimaki. They offer user-friendly interfaces and essential tools like color management, nesting, and job queues for RIP for beginners. Beginners gain reliable printing workflows with these best RIP software options.
Each recommendation includes pricing details, compatibility, and beginner ratings. Look for free RIP trials to test easy RIP software before committing. These picks suit large format printing, DTG, and vinyl projects.
Focus on RIP compatibility with your printer drivers, such as Epson or Roland support. Beginner guide RIP features like drag-and-drop queues simplify setup. Integrate with tools like Photoshop for RGB to CMYK conversion.
Expect strong RIP support through tutorials and forums. These top RIP software 2023 options reduce print failures with preview tools. Start with entry-level RIP for hobbyists or small shops.
1. ONYX RIP Pipeline
$2,495 perpetual license supports 200+ Epson/Roland printers with unlimited job queue. This Onyx RIP handles inkjet RIP tasks for large format printing. Beginners appreciate its simple RIP interface.
Key features include HotFolders, nesting, and tiling for efficient RIP workflow. Use nesting to fit more designs on roll media. Tiling supports banners with precise cuts.
- Best for production shops needing batch printing.
- Learning curve: 7 days with video tutorials.
- 24/7 phone/chat support for quick fixes.
Users report, “Cut setup time 80%” – Print Shop USA. Pair with contour cutting for vinyl RIP jobs. Ideal RIP for beginners scaling to professional use.
2. EFI Fiery Pro
$1,299/server license excels with variable data printing and Fiery Command WorkStation. This EFI Fiery RIP boosts color accuracy in photo printing. Works on Mac and Windows with 30-day trial.
Key features cover spot color matching and ink optimization for CMYK printing. Match Pantone colors easily for branding. Optimize ink for sheet media to cut waste.
Best for photo printing with high DPI settings. Use ICC profiles for consistent output. Command WorkStation manages print queues intuitively.
Experts recommend it for print quality in sublimation or UV printing RIP. Beginners handle halftone settings via previews. Strong for small business RIP setups.
3. Wasatch SoftRIP
$1,495 base + $395/printer excels in DTG/textile with white ink channeling. This Wasatch RIP suits DTG RIP and DTF RIP for garment printing. Unlimited printers option available.
Key features include white ink separation and multi-channel support. Channel white ink for textiles under colors. Manage media settings for various fabrics.
Best for DTG/DTF workflows. Supported printers: Epson F2100, M&R Jade.
- Case: M&R DTG shop doubled output.
- Drag-and-drop for batch printing.
- RIP preview prevents errors.
Free vs Paid Options
Free RIPs like AcroRIP trial handle basic vinyl but lack production features of $1,495+ paid versions. Beginners often start with these free RIP trials to test vinyl RIP or DTG RIP workflows without cost. They provide a simple entry into Raster Image Processor software for large format printing.
Paid options like Wasatch RIP offer advanced color management RIP tools and reliable printer support for Epson, Roland, and Mimaki. These professional RIP programs include features like nesting, tiling, and cut contours essential for sublimation RIP or UV printing RIP. Entry-level users gain from their intuitive interfaces and step-by-step guides.
Compare options using the table below to match your needs in beginner RIP software. Free versions suit hobbyists testing inkjet RIP setups, while paid ones support small business growth with job management and ICC profiles. Start with 30-day trials before $1K+ commitment.
| Software | License Cost | Printer Support | Color Tools | Production Ready | Best Use Case |
|---|---|---|---|---|---|
| AcroRIP trial | Free (trial) | Basic Epson, Roland | Simple ICC profiles | No | Vinyl cutter RIP for beginners |
| SAI FlexiRIP demo | Free (demo) | Entry-level Mimaki, HP | Basic color adjustment | Limited | DTF RIP testing, hobbyists |
| ONYX 15-day | Free (15 days) | Canon, Roland basics | Linearization tools | Partial | Sublimation RIP preview |
| Wasatch | $1,495 | Wide: Epson, Roland, Mimaki | Advanced Pantone, spot colors | Yes | Small business vinyl RIP |
| ONYX | $2,495 | Extensive large format | Full color management RIP | Yes | UV printing RIP, professional |
| ColorGate | $2,995 | HP, Canon, all inkjet | Expert halftone, DPI settings | Yes | Screen printing RIP, production |
Free RIP downloads help beginners set up print queues and learn RIP installation quickly. Paid perpetual licenses add RIP support, video tutorials, and forum access for error-free printing. Choose based on your printer drivers and media settings like roll or sheet.
Installation and Setup Guide

Complete RIP setup takes 45 minutes: Download Disable antivirus Install printer profiles Test print. This beginner RIP software process ensures smooth integration with your printing workflow. Follow these steps for ONYX RIP or similar easy RIP software.
Start by visiting the official site like ONYXadvantage.com for your RIP download. Choose the version compatible with your printer, such as Epson RIP or Roland RIP. Save the installer to an accessible folder.
- Download from official site (5 minutes): Get the latest RIP installation file for Windows or Mac RIP compatibility.
- Right-click ‘Run as Admin’ (2 minutes): Launch the setup with administrator privileges to avoid permission issues.
- Install USB drivers first (10 minutes): Connect your printer and follow prompts for printer drivers like Epson print drivers.
- Load ICC profiles from Media folder (8 minutes): Import profiles for color management RIP to match your media settings.
- Print 10x10cm test square (10 minutes): Use the print queue to output a simple square for initial checks.
- Verify colors with X-Rite i1 (10 minutes): Measure the test print for color accuracy and adjust linearization if needed.
Common errors include ‘Windows Defender blocks – add exception’. Temporarily disable antivirus or add the RIP programs folder to exclusions. This prevents interrupted RIP installation during setup.
Common Errors and Fixes
Users often face antivirus blocks during RIP download or install. Add an exception for the executable file in Windows Defender settings. This quick fix keeps your printing RIP workflow moving.
Another issue is missing USB drivers, causing printer detection failures. Install them separately from the manufacturer’s site before running the RIP tutorial. Test connectivity with a basic print job.
ICC profiles not loading can lead to poor color accuracy. Ensure the Media folder is correctly pointed in the software settings. Restart the user-friendly RIP application after importing.
- Driver conflicts: Uninstall old versions first for DTG RIP or DTF RIP.
- Permission errors: Always run as admin for large format printing setups.
- Profile mismatches: Match media settings like roll media or sheet media exactly.
Testing Your RIP Setup
After installation, print a 10x10cm test square using the RIP preview tool. Check for banding or color shifts in CMYK printing. This verifies your beginner printing setup.
Use an X-Rite i1 device to measure output against loaded ICC profiles. Adjust halftone settings or resolution settings if colors deviate. Aim for consistent results across jobs.
Test advanced features like nesting, tiling, or cut contours for vinyl cutter RIP. Send a sample job with spot colors or Pantone colors to confirm RGB to CMYK conversion. Your RIP workflow is ready for production.
For sublimation RIP or UV printing RIP, repeat with specific media. Monitor ink saving and print quality to fine-tune. This step-by-step guide ensures error-free printing from the start.
Getting Started Tips
Master RIP in 3 days using these 7 daily workflow tips proven by 5,000+ AcroRIP users. Beginners often struggle with RIP software settings, but these steps simplify the process for DTG RIP, DTF RIP, and vinyl RIP jobs. Follow them to achieve print quality and color accuracy quickly.
Start small to build confidence with your beginner RIP software. Focus on resolution settings like 300 DPI for initial prints. This approach works well for large format printing and sublimation RIP tasks.
These tips cover RIP workflow essentials, from ICC profiles to job management. They help prevent common issues in inkjet RIP and contour cutting. Use them with printers like Epson, Roland, or Mimaki for best results.
Incorporate print queue habits and media settings daily. Over time, you’ll master nesting, tiling, and halftone settings. This leads to error-free printing in garment printing and textile printing.
7 Essential Practices
- Start with 300 DPI vinyl jobs only. This setting ensures sharp cut contours on vinyl cutter RIP without overwhelming your Raster Image Processor.
- Use pre-built templates. They speed up RGB to CMYK conversion and spot colors setup in easy RIP software.
- Print test strips before production. Check color management RIP output to avoid print failures on roll media or sheet media.
- Save custom job presets. Reuse them for repeat UV printing RIP or screen printing RIP runs to save time.
- Update ICC profiles monthly. Fresh profiles improve color accuracy in CMYK printing for Epson RIP or Roland RIP.
- Join RIP Facebook groups with thousands of members. Get tips on RIP installation and printer drivers from real users.
- Watch 15-min YouTube setup videos. Follow along for RIP tutorial on print preview and proofing features.
Daily Checklist
Run this beginner guide RIP checklist before every session. It confirms your user-friendly RIP is ready for batch printing.
- – Verify DPI printing and Pantone colors.
- – Enable drag and drop RIP for RIP automation.
- – Check linearization for ink saving.
- – Prepare for job management in printing software.
Frequently Asked Questions
What is the best RIP software for beginners in printing?
The best RIP software for beginners printing is often considered user-friendly options like AcroRIP or ONYX PosterShop Starter. These provide intuitive interfaces, essential raster image processing features, and affordable pricing tailored for newcomers starting with wide-format or DTG printing without overwhelming complexity.
Why do beginners need RIP software for printing?
For beginners printing, RIP software is crucial as it processes design files into printable formats, handling color management, halftoning, and tiling accurately. The best RIP software for beginners printing simplifies these tasks, preventing common errors like color shifts or banding on printers like Epson or Roland.
How to choose the best RIP software for beginners printing?
To choose the best RIP software for beginners printing, prioritize ease of use, compatibility with your printer model, free trials, and basic tutorials. Key factors include low learning curve, cost under $500, and support for common formats like PDF/EPS-options like Cadlink Digital Factory stand out for starters.
Is there free best RIP software for beginners printing?
Yes, free trials or lite versions of the best RIP software for beginners printing exist, such as Wasatch SoftRIP’s trial or open-source alternatives like CUPS with RIP filters. However, for reliable long-term use, investing in beginner-friendly paid options like MainstRIP ensures better stability and features.
What features should beginners look for in RIP software for printing?
Beginners should seek features like drag-and-drop workflows, automatic color profiling, preview modes, and printer-specific drivers in the best RIP software for beginners printing. These make setup quick, allowing focus on creativity rather than technical tweaks.
Which printers work best with RIP software for beginners printing?
Entry-level inkjet printers like Epson SureColor S40600 or Roland VersaStudio work seamlessly with the best RIP software for beginners printing. These combos offer plug-and-play RIP integration, ideal for vinyl, banners, or t-shirts without advanced expertise.